Distributor rebuild for Mazda B6T
This rebuild was done because of suspected bad distributor springs.I'll show how I did it, which may not be the exactly correct way, but it worked for me. I was lucky that I didn't strip any bolts, since it had been a number of years since the distributor was apart. This is also a good opportunity to replace the cap and rotor if it's been a while. I also don't know the names of a lot of the internal parts of the distributor, so please just look at the pictures and you'll see what I mean.
Tools Needed
- 12mm Socket, ratchet, and extension
- Phillips screwdriver
- Flat Head screwdriver (fairly wide one) - in case the phillips strips the bolt!
- Snap Ring Plyers - you will definitely need these. Don't try to get by without them.
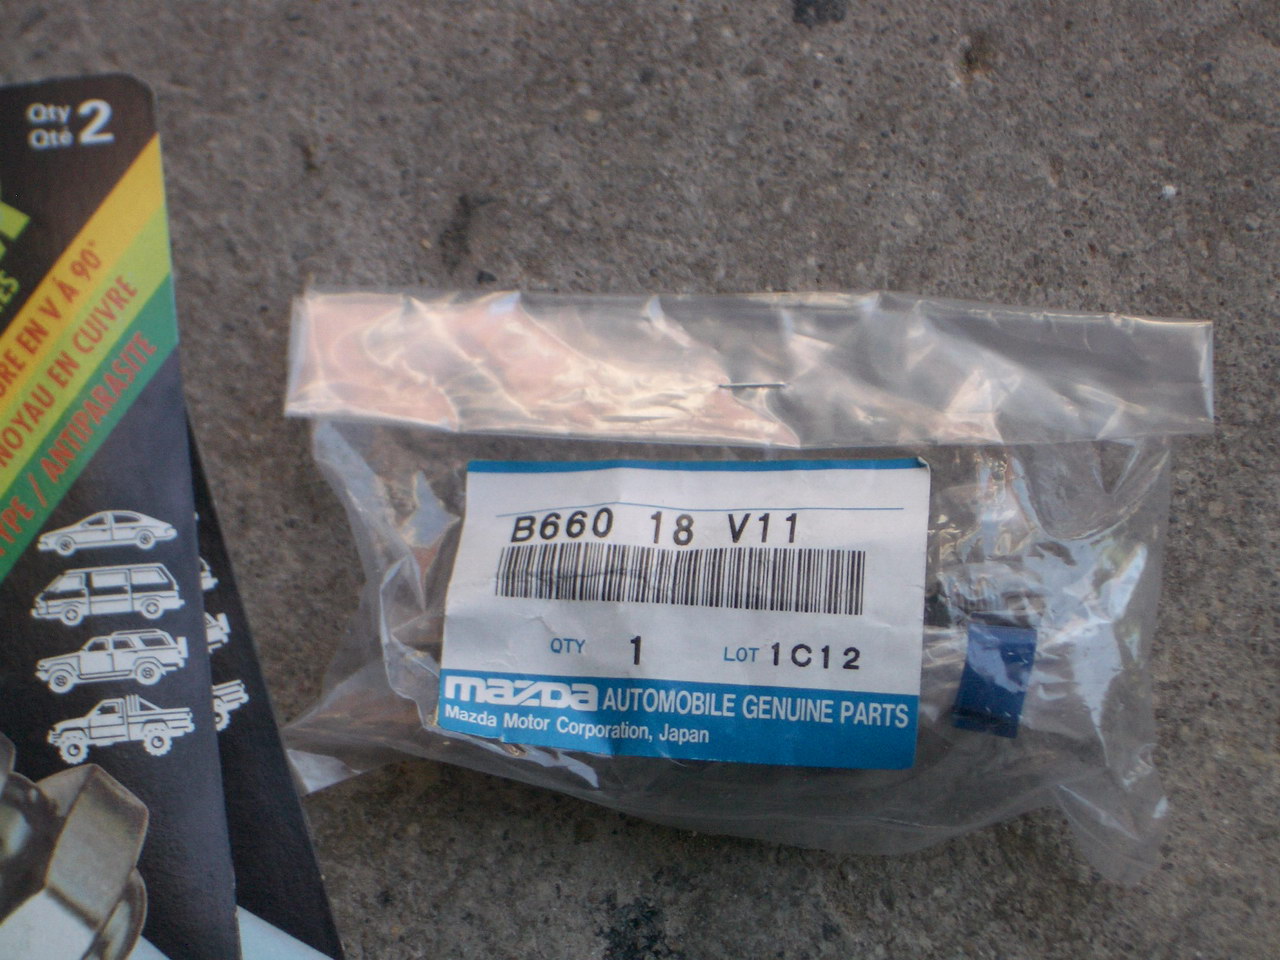
Order the springs from the mazda dealer, part Number is B660 18 V11.
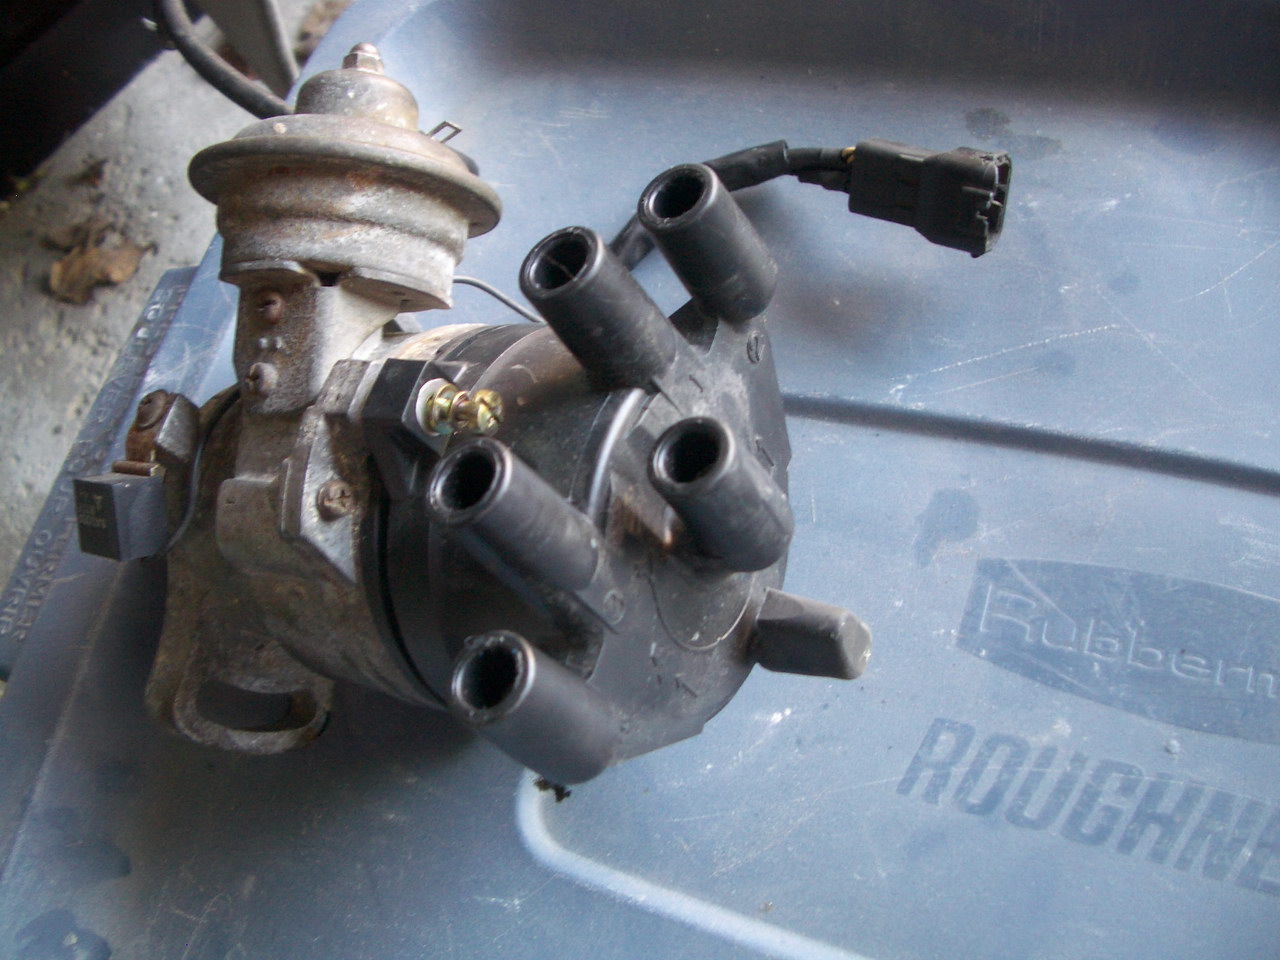
* Label the spark plug wires if they're not labelled already. Mine were labelled, plus I've had them off a few times so didn't bother. Remove the lead from the coil to the distributor as well.
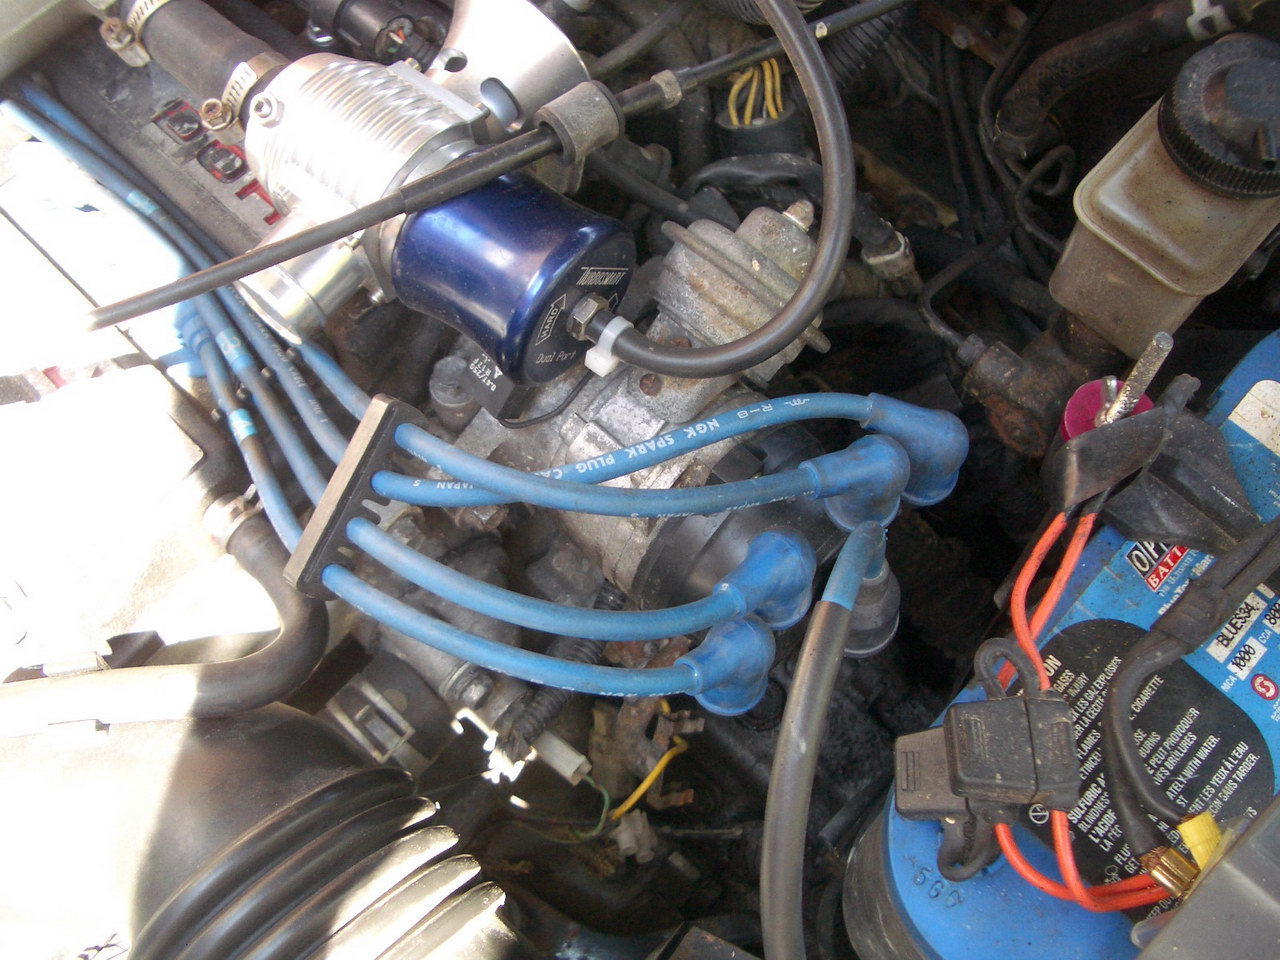
* Remove the bolt on each side of the distribtor, the ones that are used to hold it in place and adjust the timing. In this picture you can see the ratchet on the left side, there is a bolt on the right side too.
* Disconnect the vacuum line either at the intake manifold or from the distributor. I disconnected mine from the IM because it's easier. In this picture it's the vacuum line in front of the one with the zip tie.
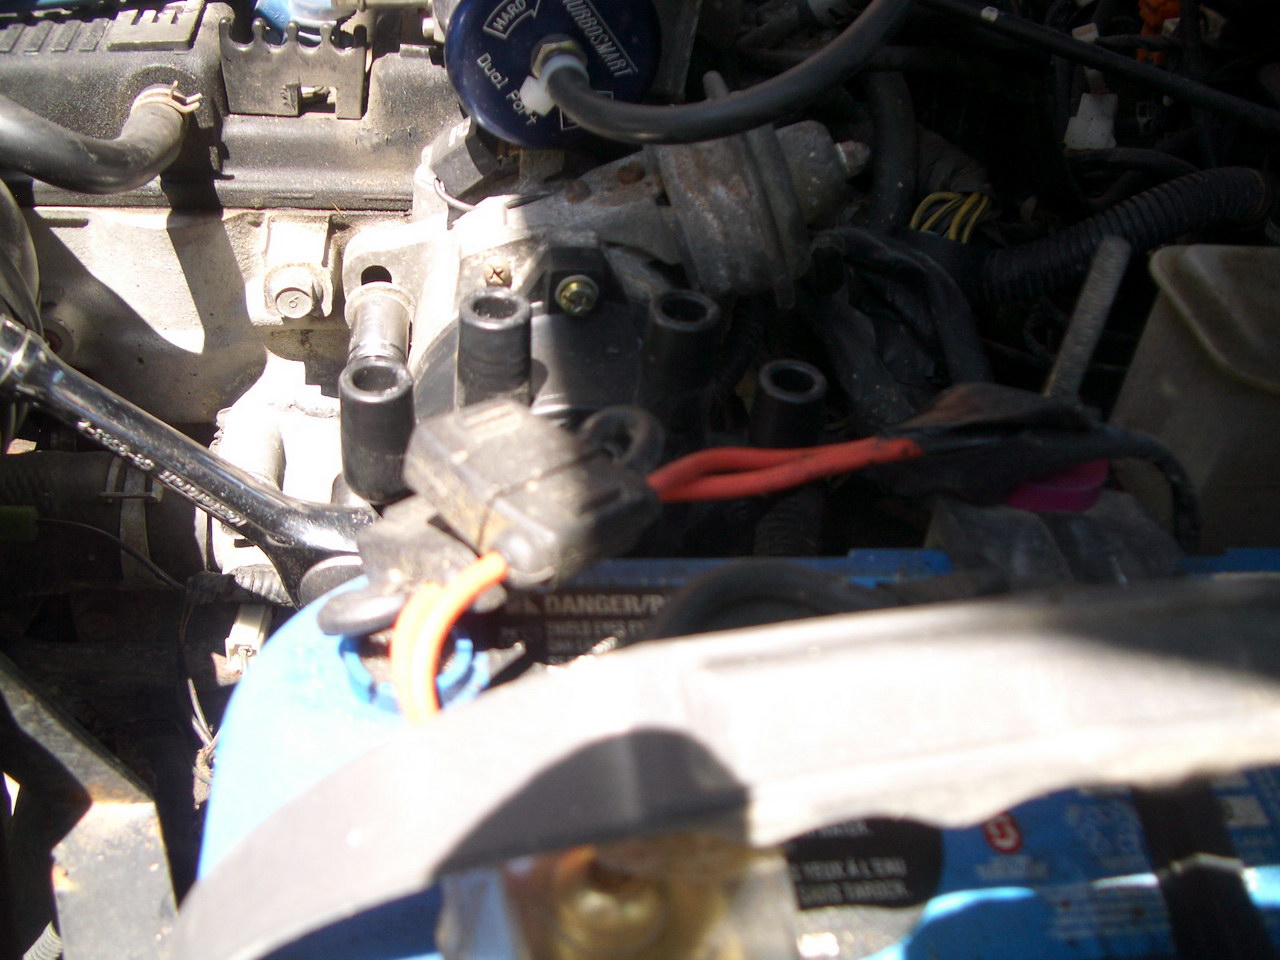
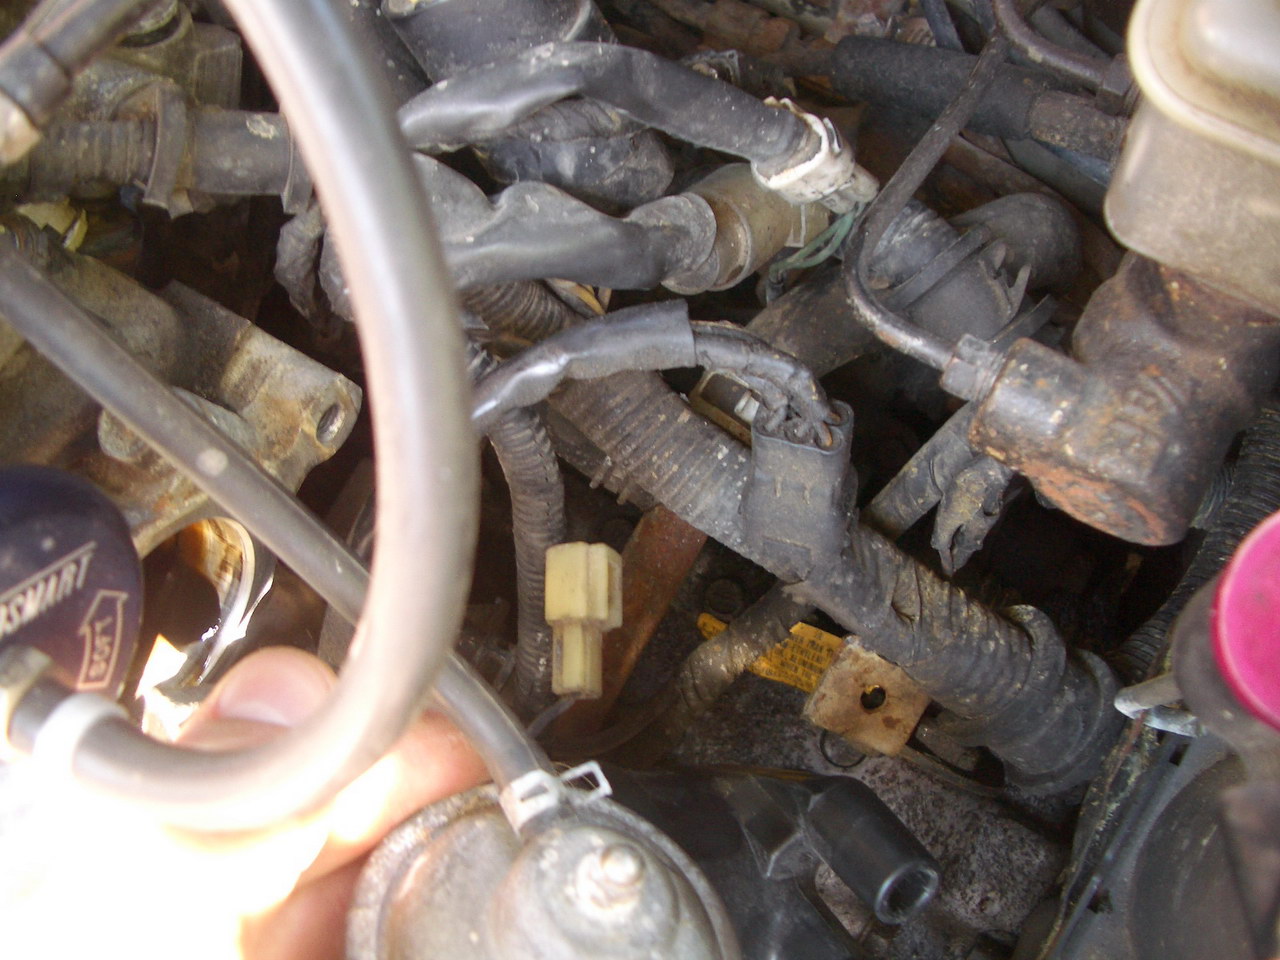
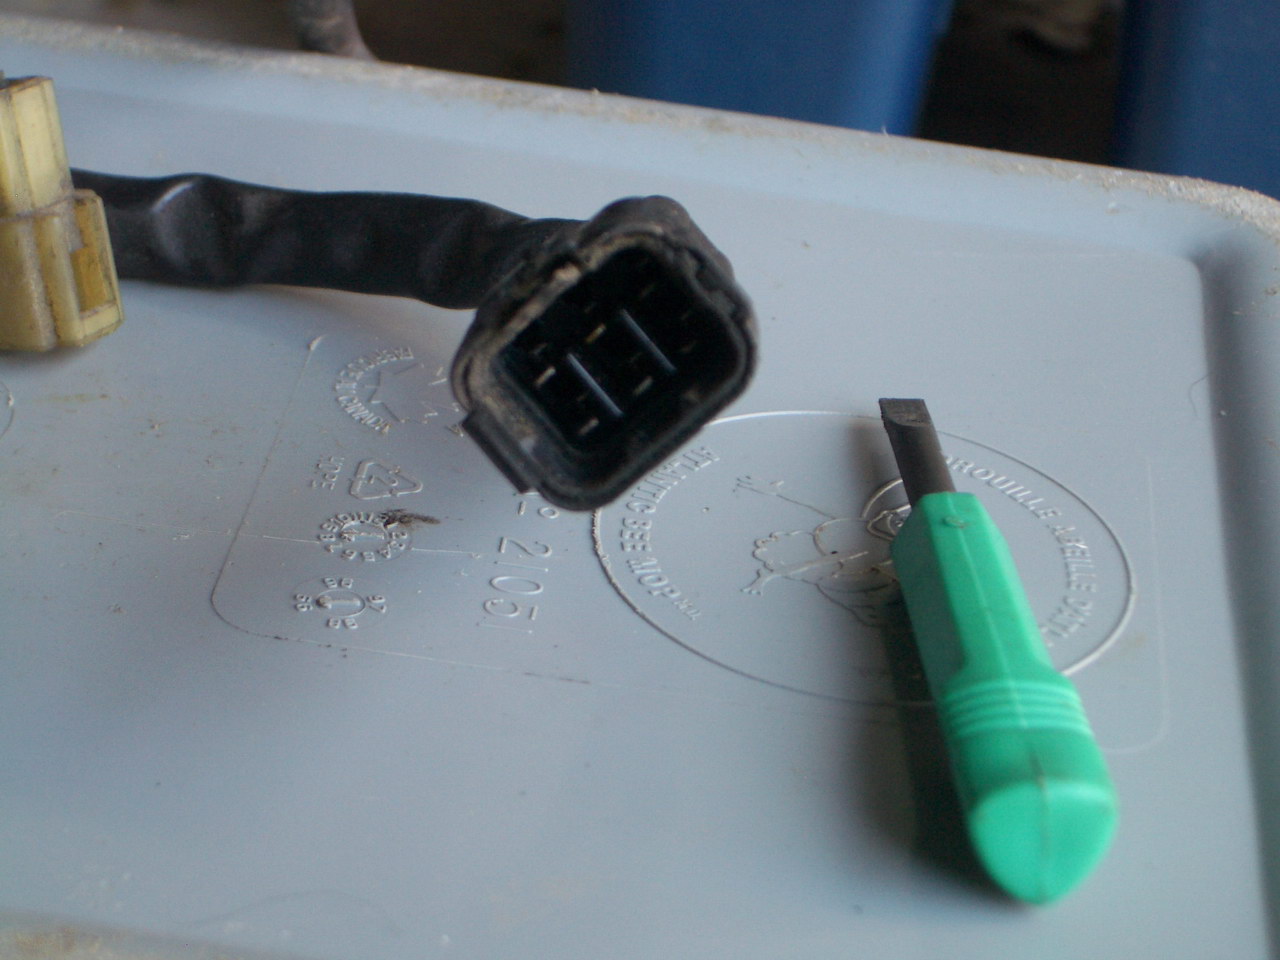
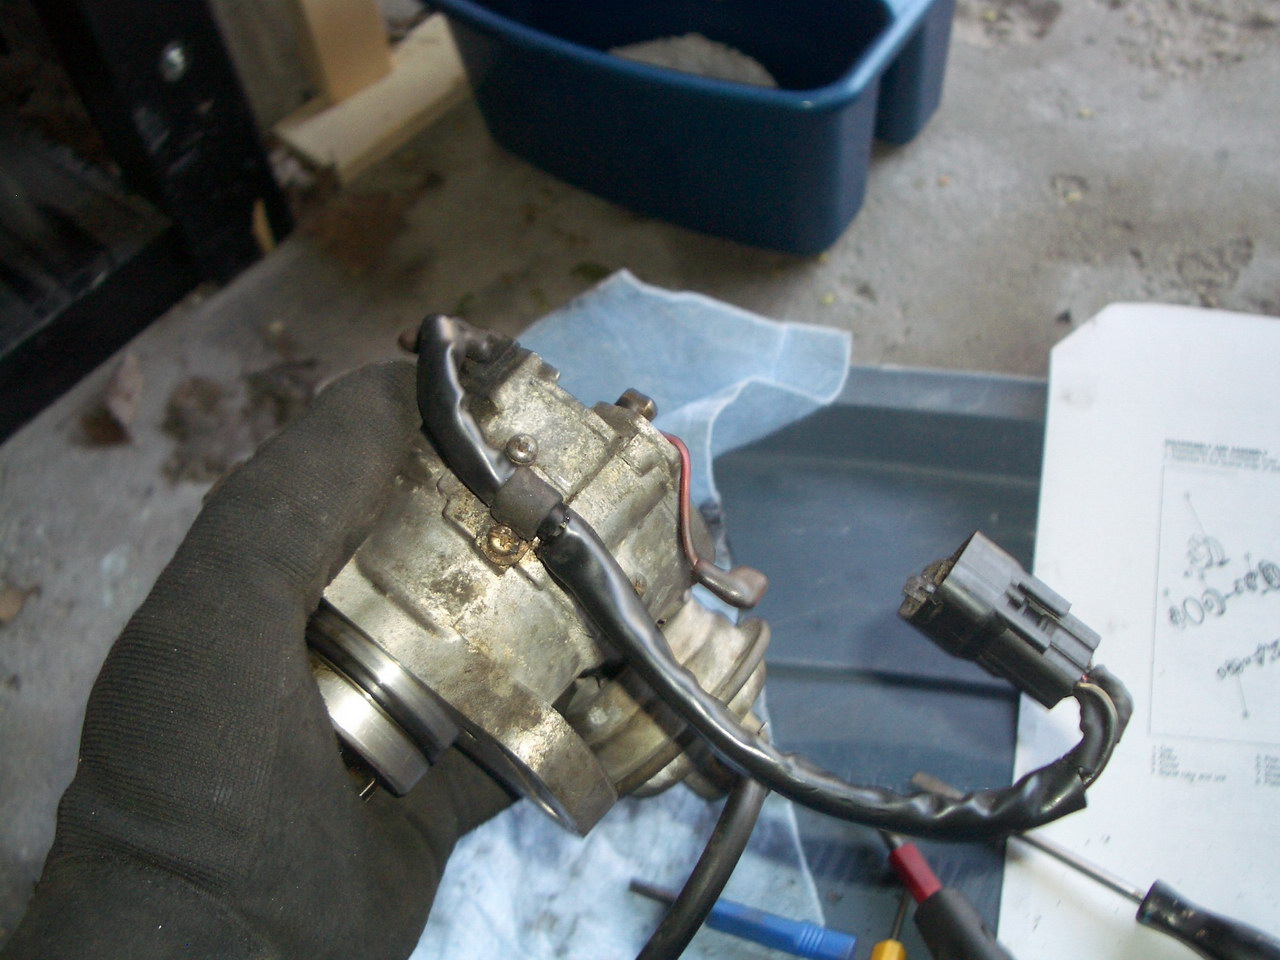
* Disconnect both wiring harnesses. There is a black main harness with several wires and a white connector with a single wire. The main harness is a pain to get to - you need to slide a small screwdriver underneath it to release a plastic latch.
* I gently placed a shop towel into the opening left in the engine to prevent bugs and other stuff from getting in there.
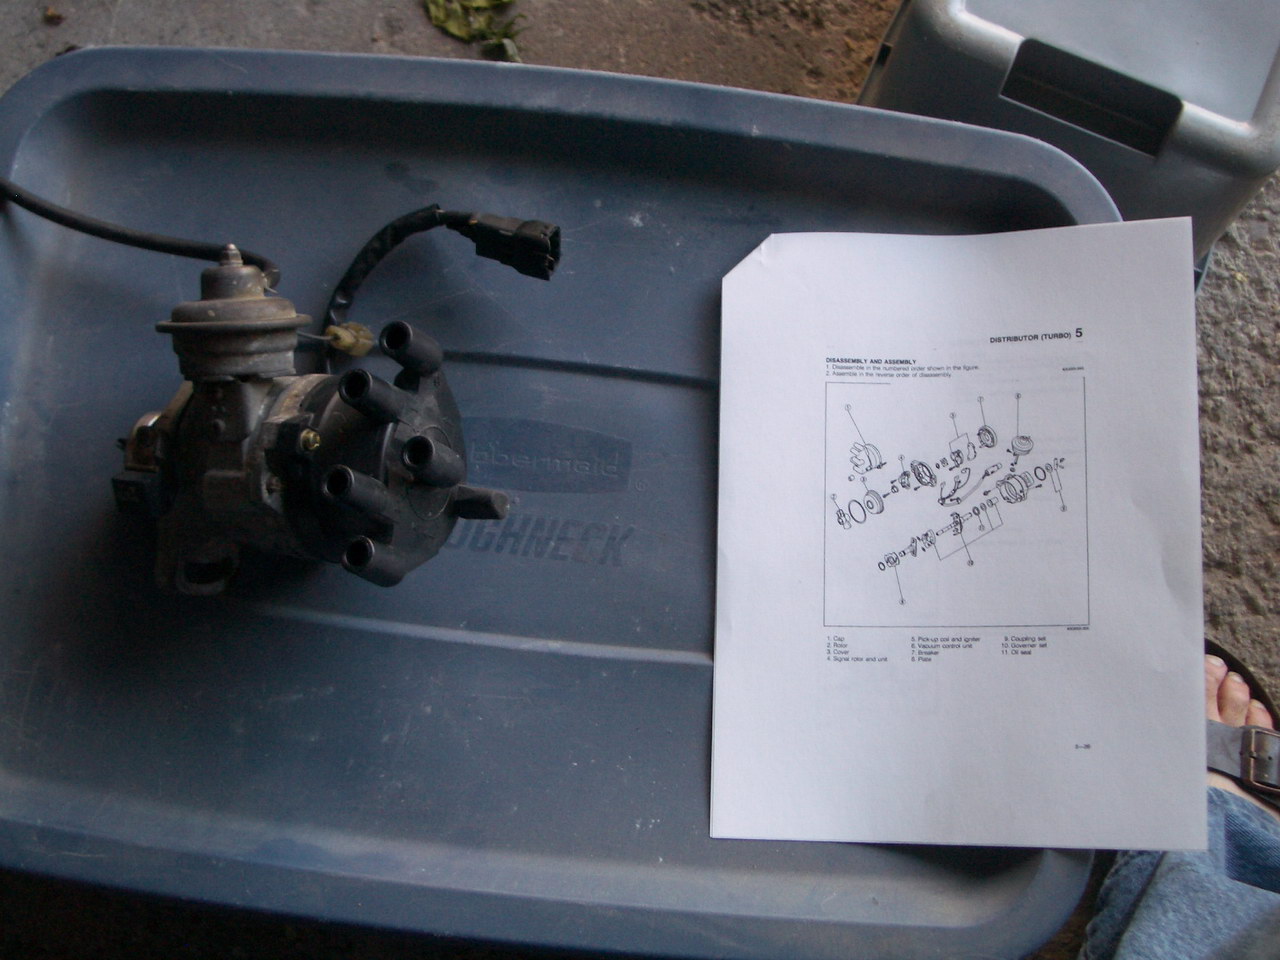
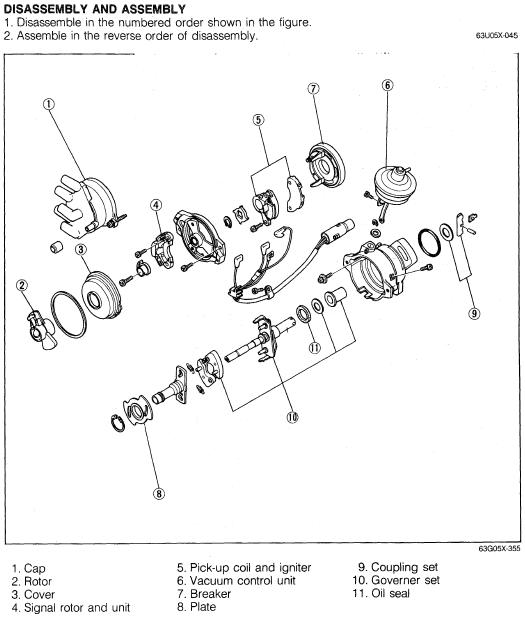
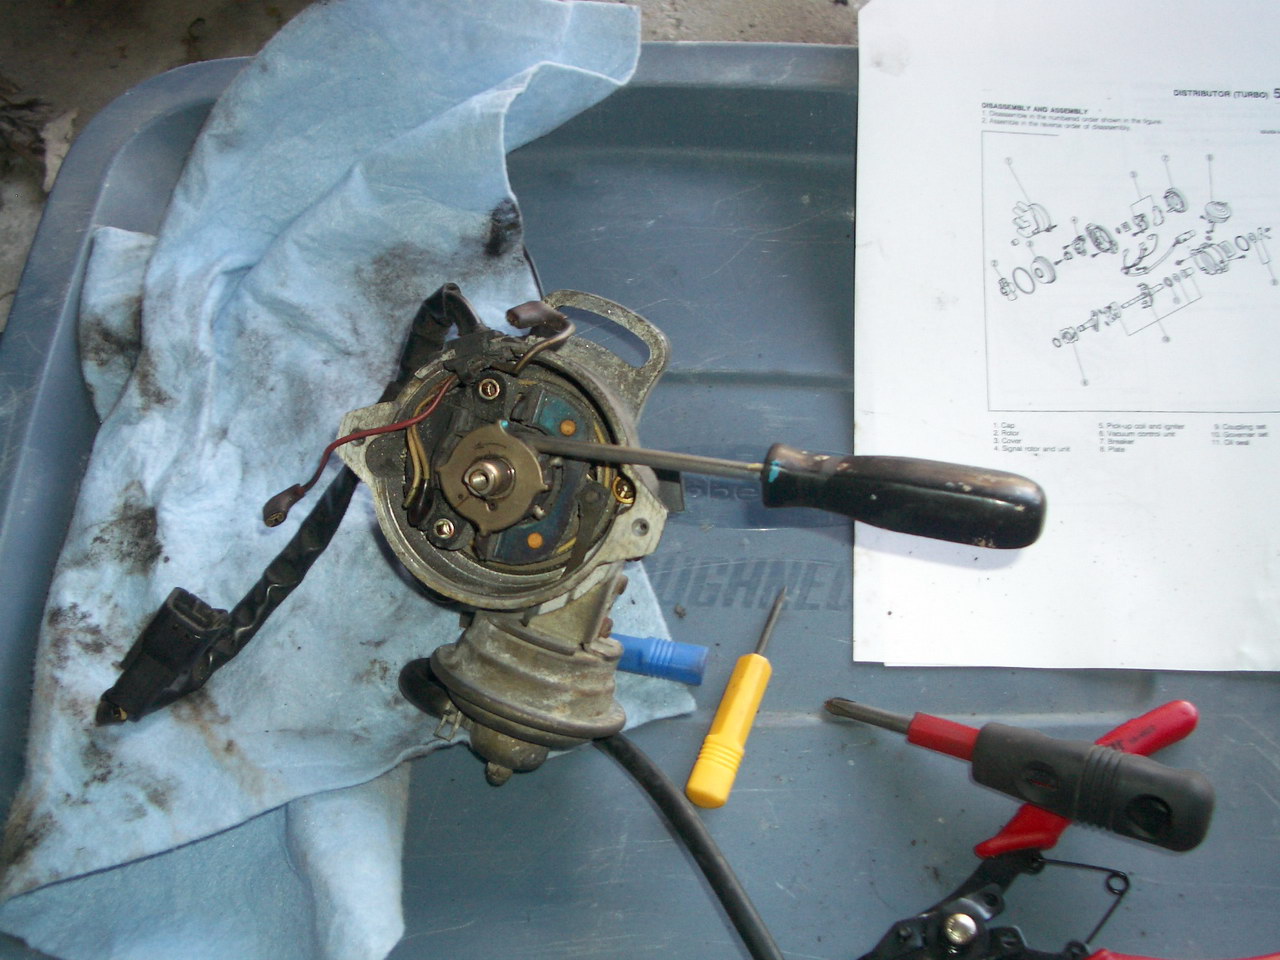
* It really helps to have the shop manual disassembly order page... so here it is for you.
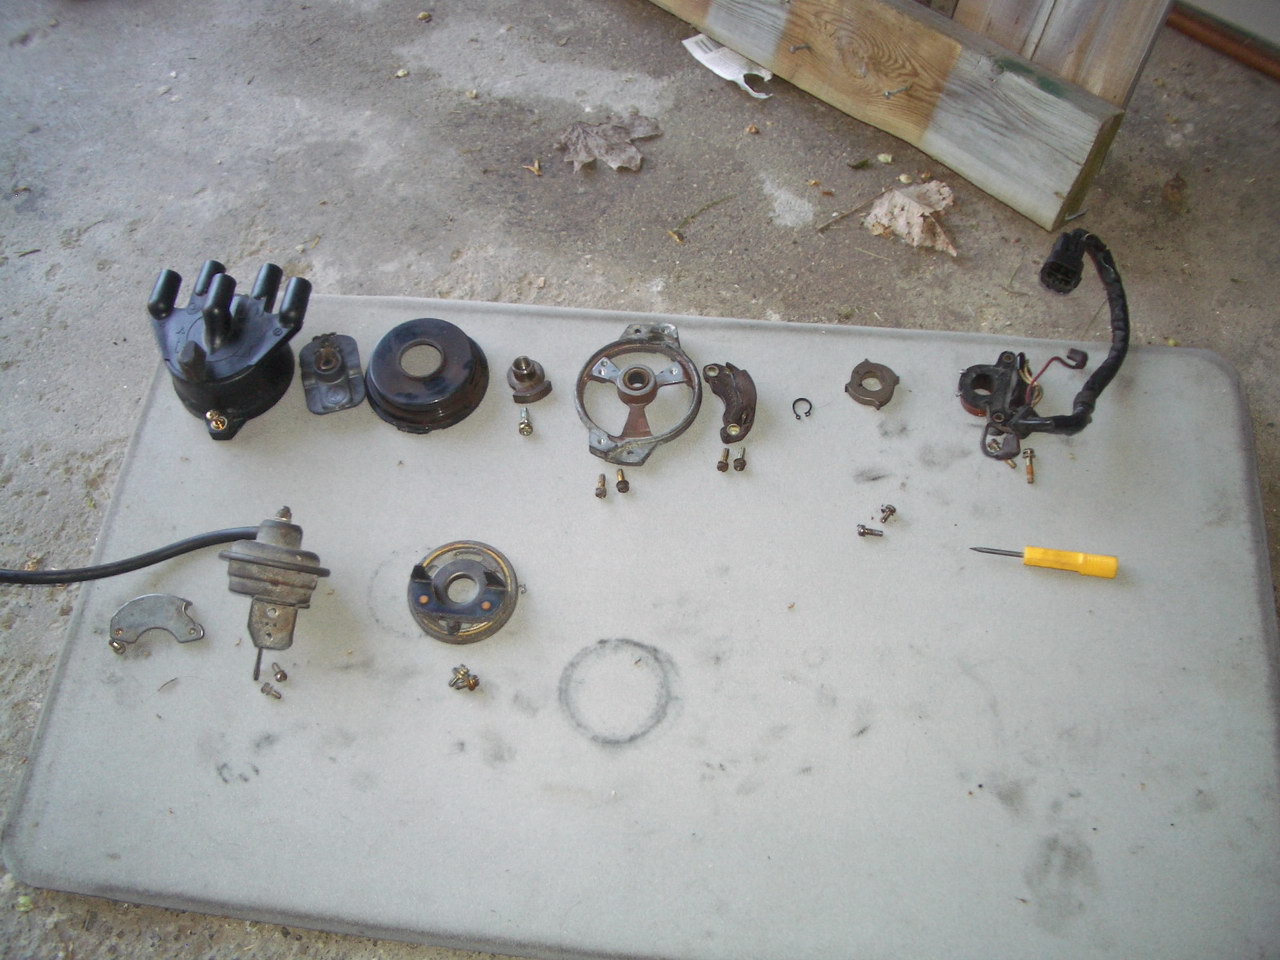
* I set everything aside in the order they came apart so reassembly would be really simple. I'd strongly suggest doing this, since it probably saved me tons of time and prevented losing the snap rings and forgetting to put them back on. (pic taken much later on, actually during reassembly)
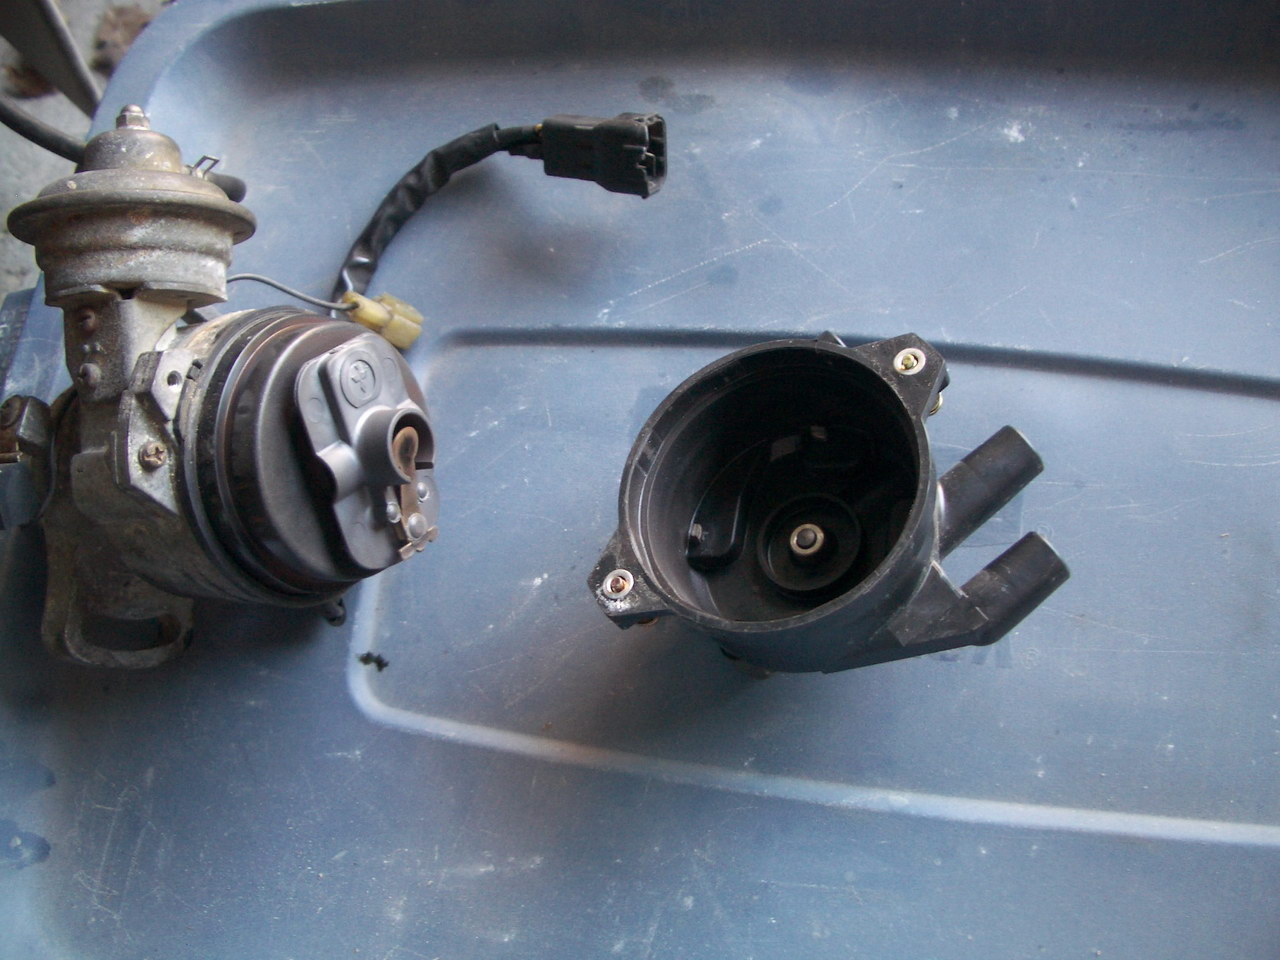
* Loosen the 2 bolts on the distributor cap and remove it. The bolts don't actually come out, they just loosen.
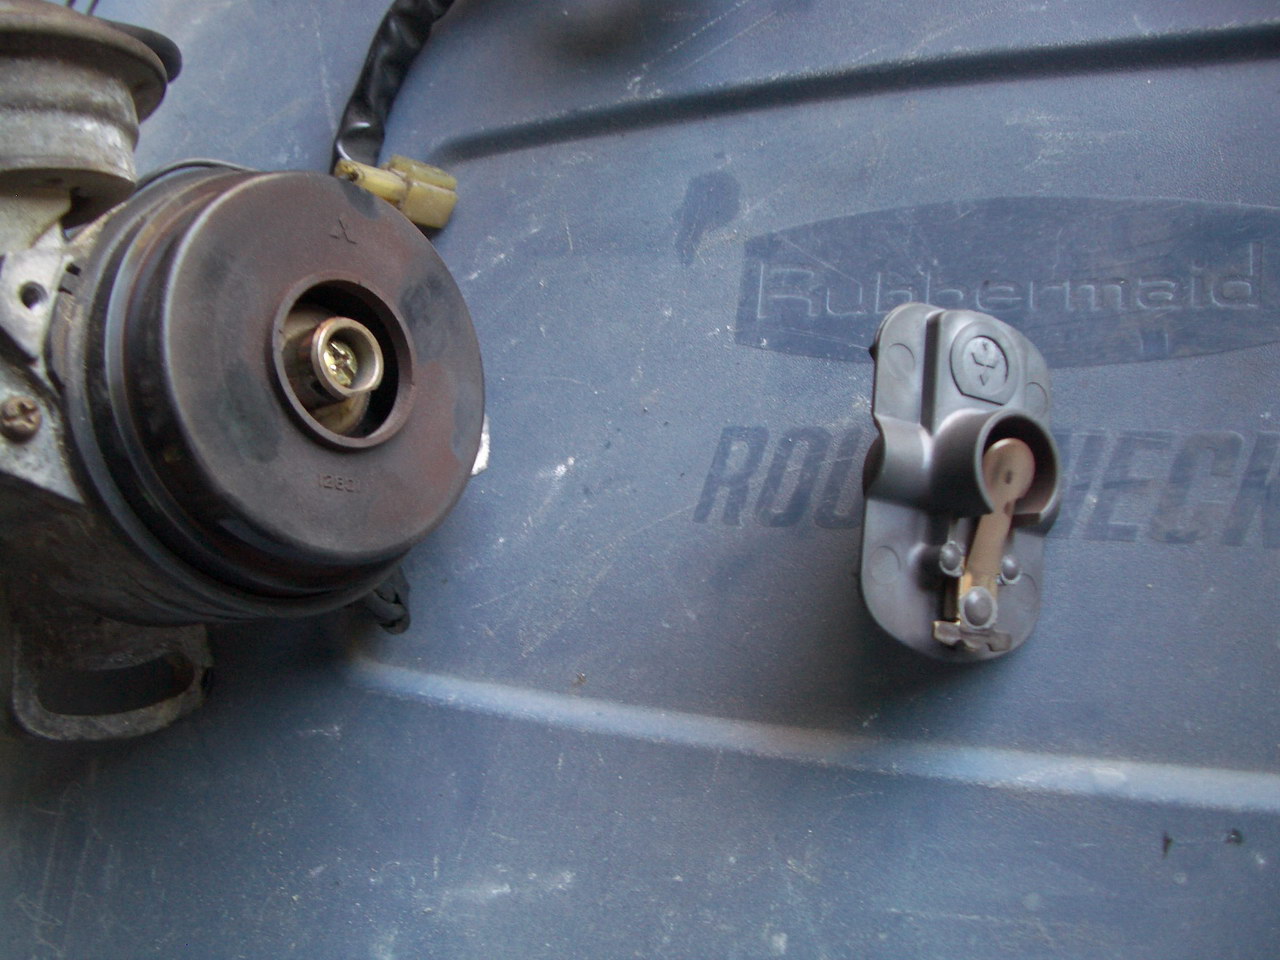
* Take off the rotor and the plastic cover underneath. The rotor "slides" off, though it might need some good help to get it there. Be careful if you try to pry it off since the cover underneath it is plastic and you don't want to risk breaking it. I used a screwdriver to work it out and it was OK.

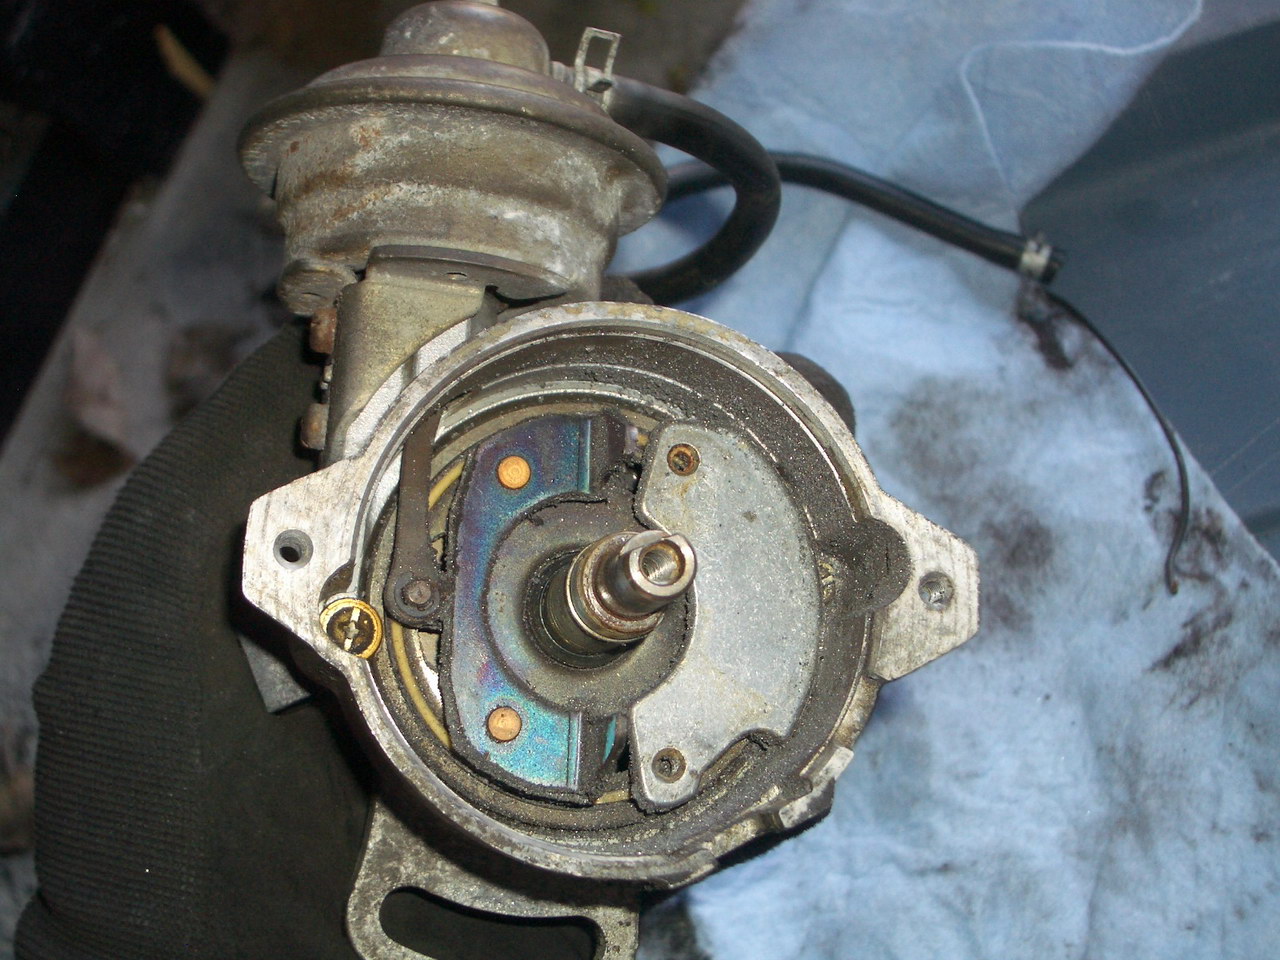
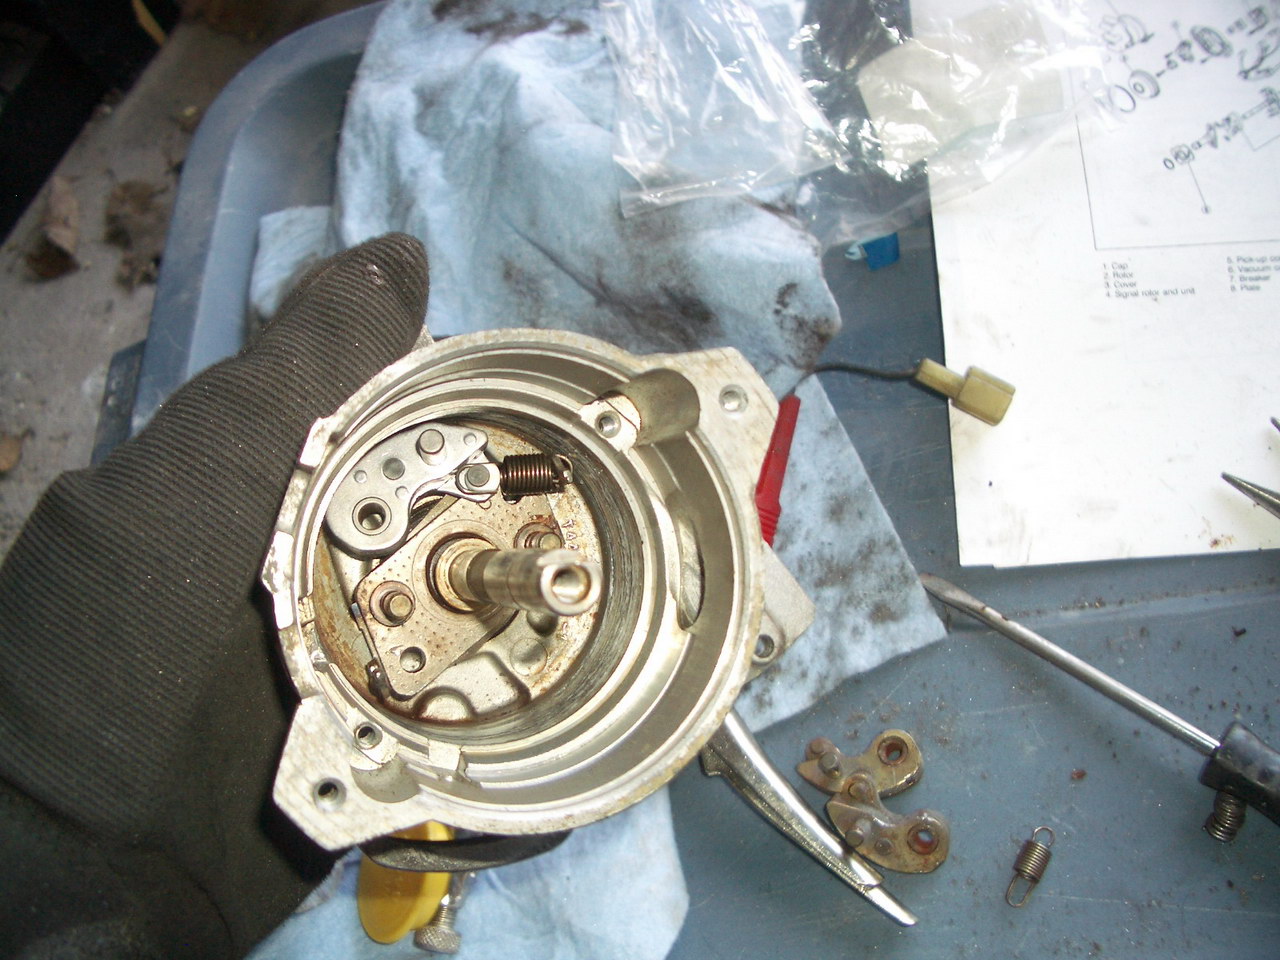
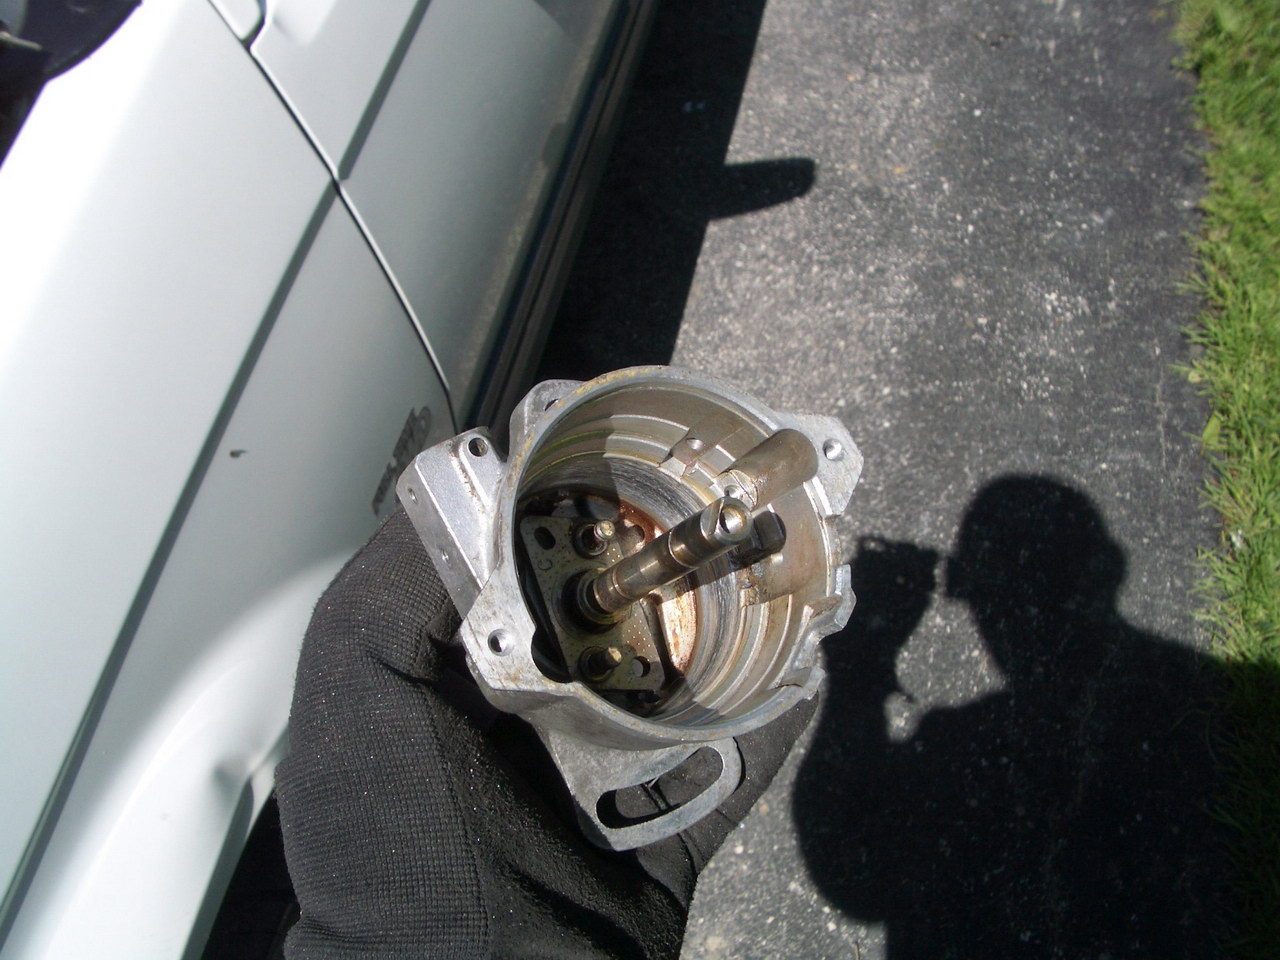
* Take the two bolts out of the sides of the next metal piece, and remove the centre bolt and the piece it holds on. Since the whole spindle turns, I used a screwdriver to block the piece from turning.
It was at this point I realized I had a serious problem, since aluminum shavings were falling out of the distributor body. I was afraid how much stuff was damaged. Luckily it was just one of the springs had broken and scraped away a bunch of the side of the distrbutor body. There was no other damage.
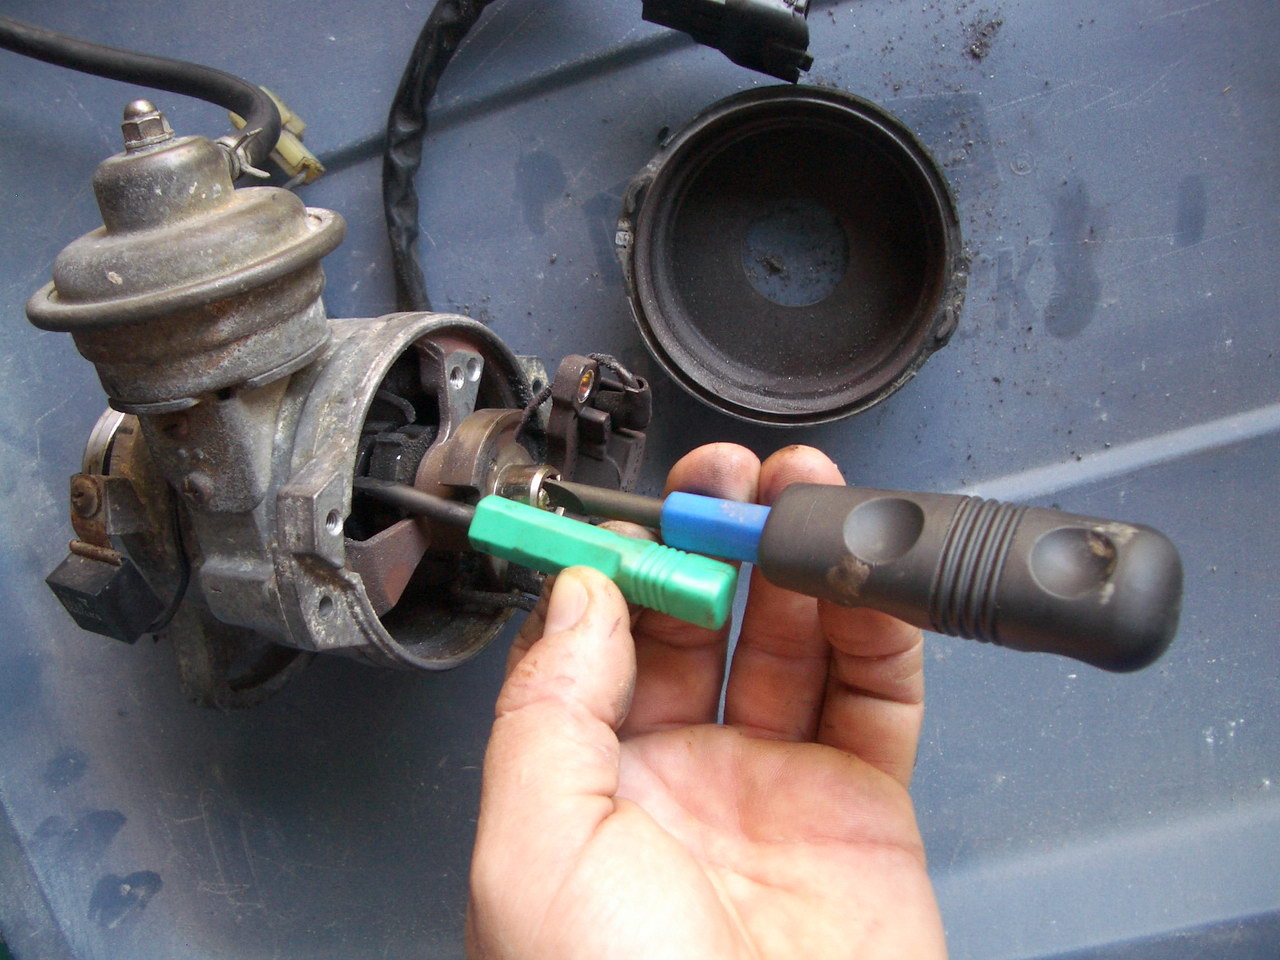
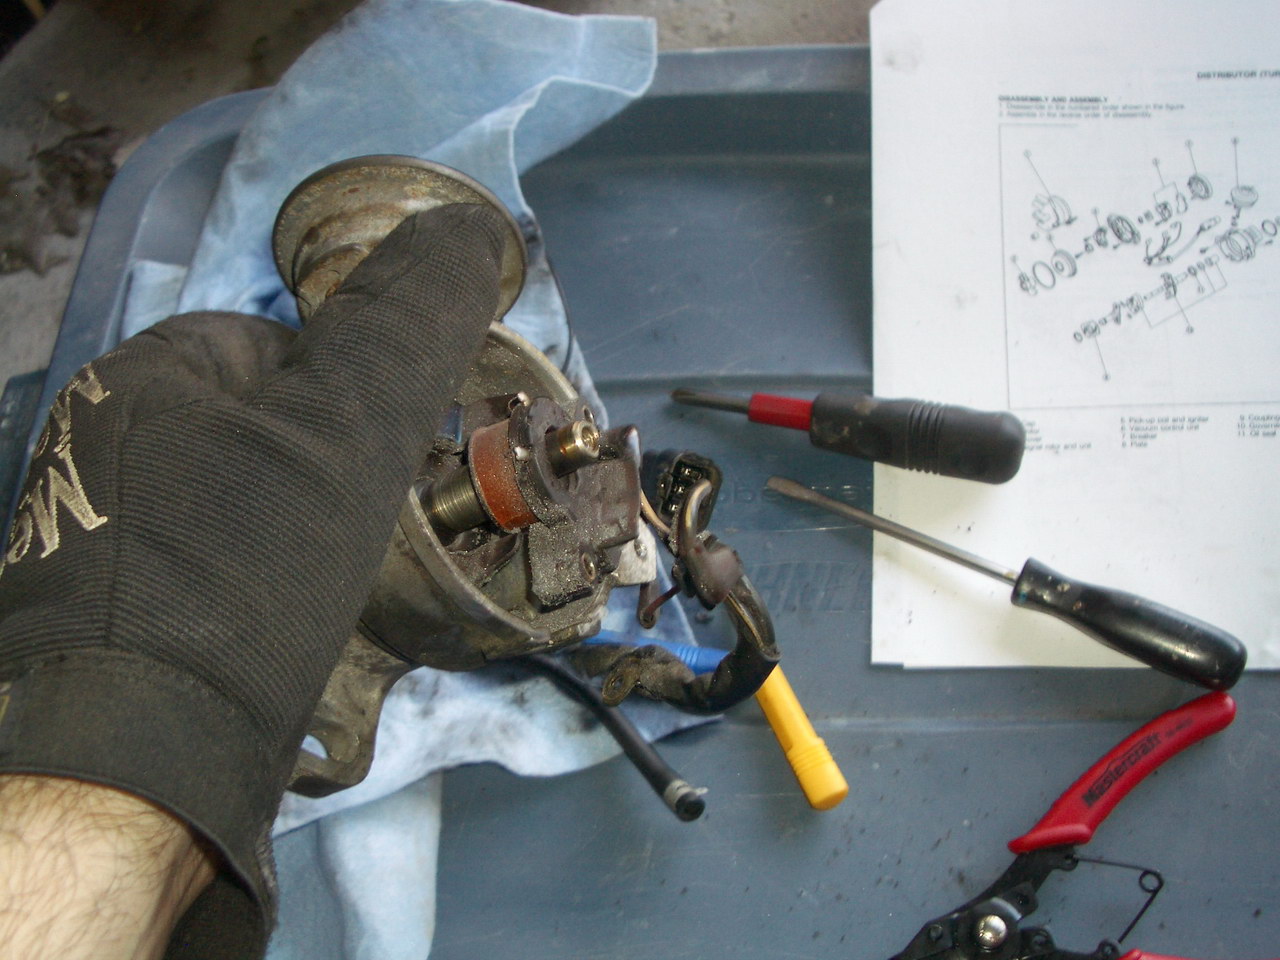
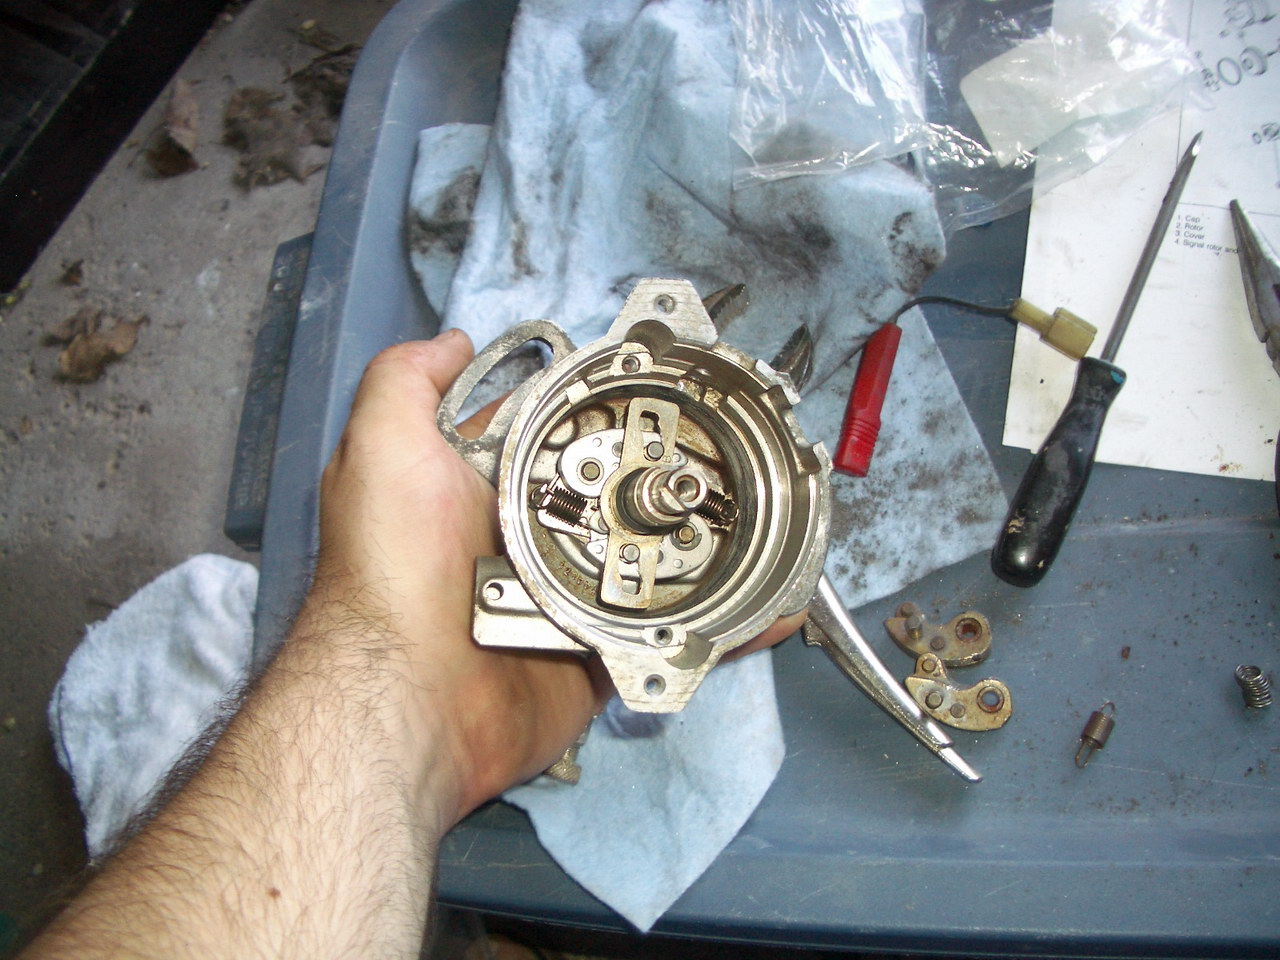
* Remove the 2 bolts holding the electrical bits on and gently pull off the two connectors. Take off the mounting plate the electronics were attached to. If you haven't taken out the two bolts holding this mounting plate on already, take them out now.
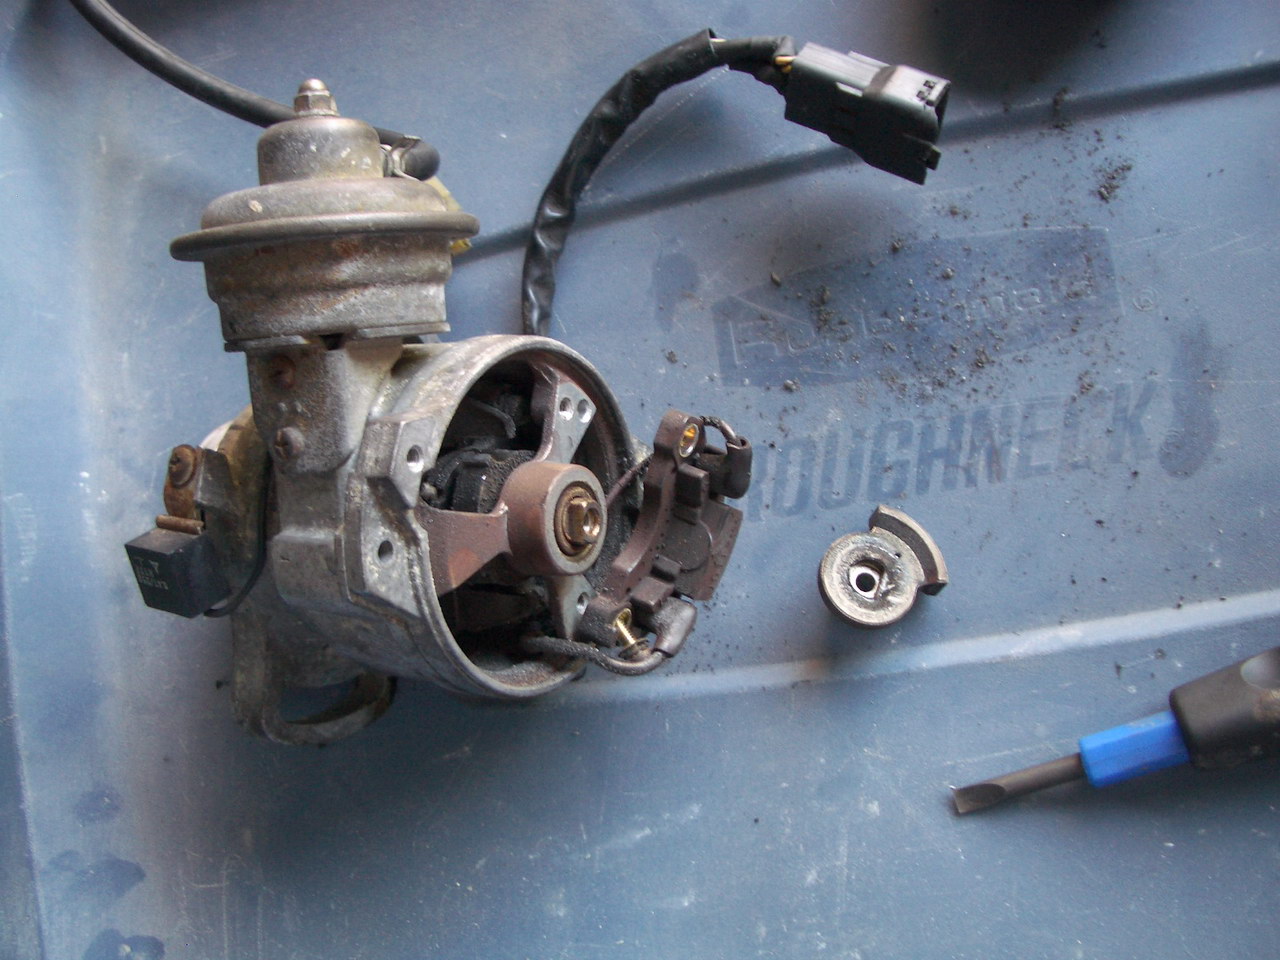
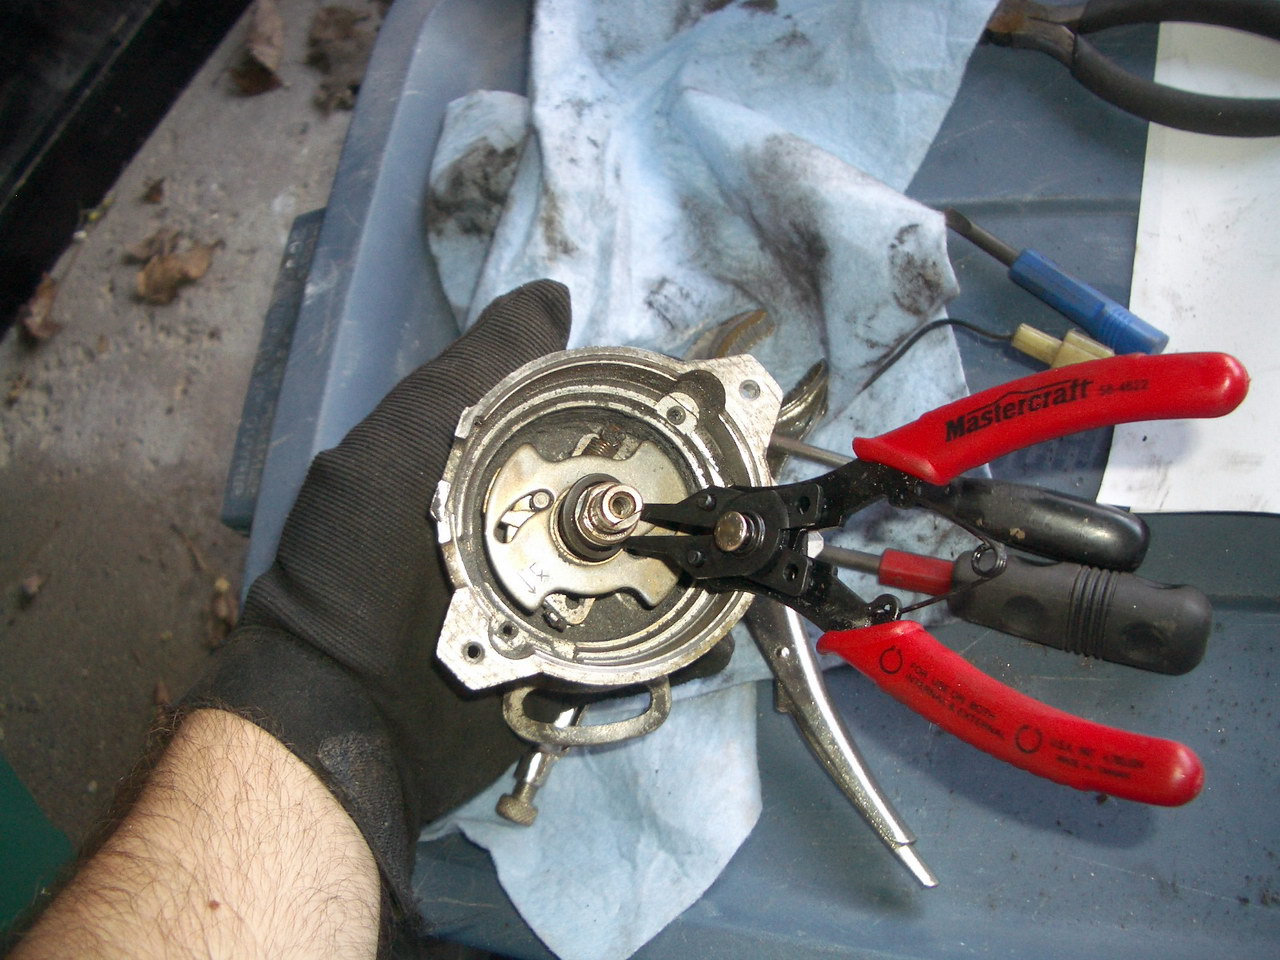
There is a snap ring holding on the next part. USE SNAP RING PLIERS to take it off. Be careful not to spread it too far though, I bent mind and had to bend it back. I'm lucky I didn't break it.
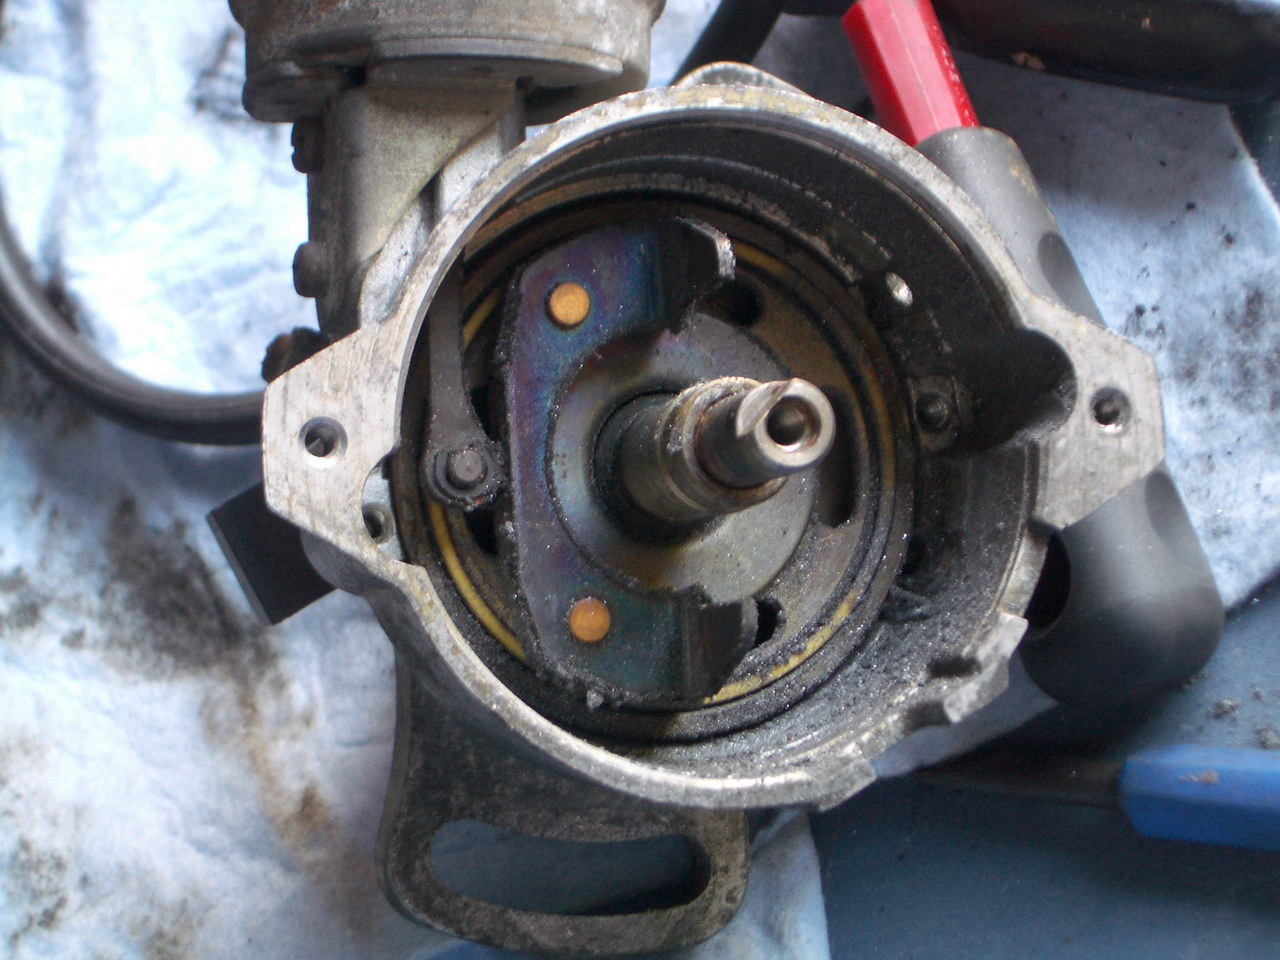
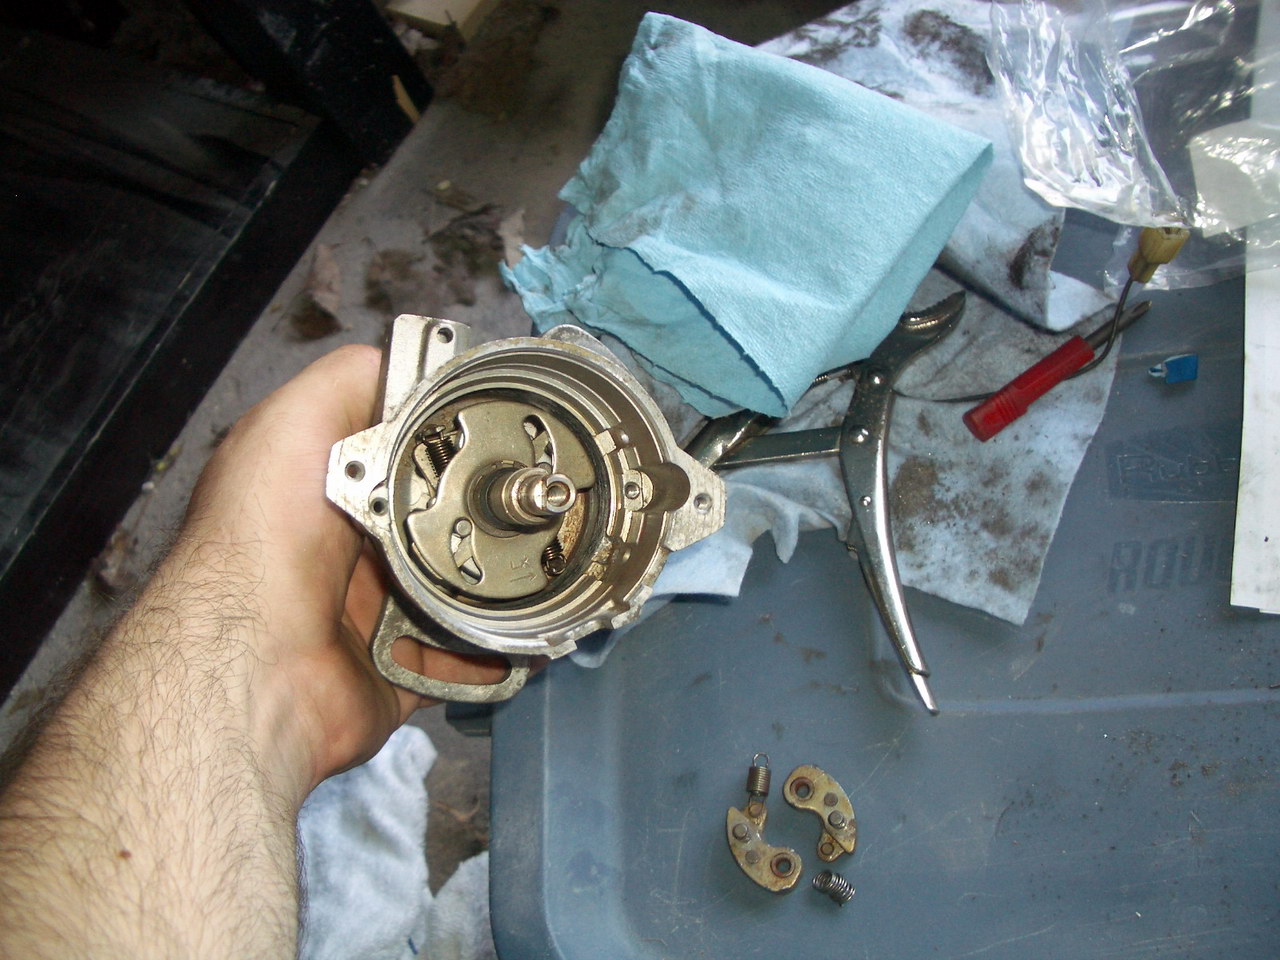
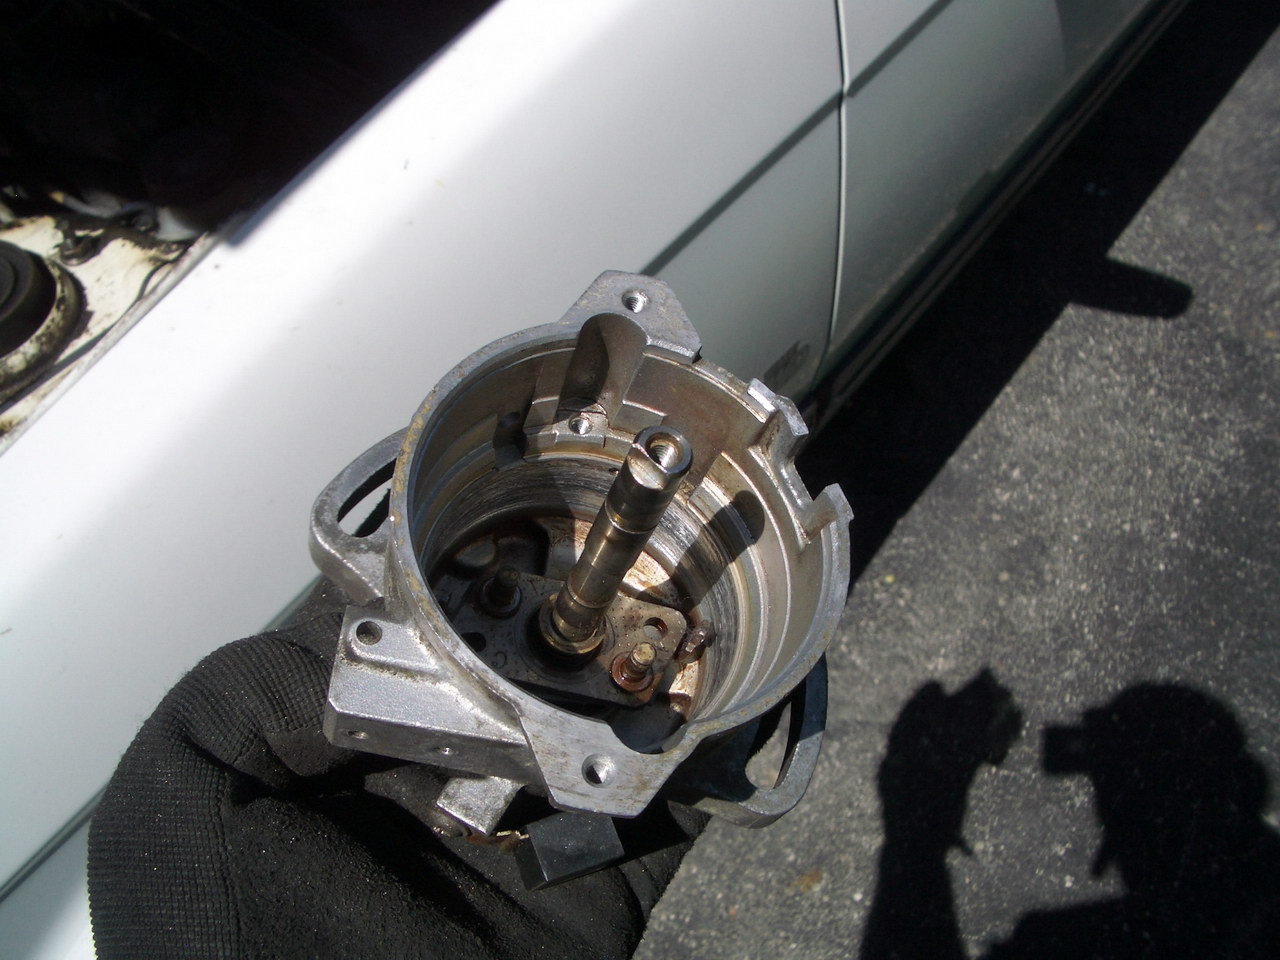
* Pry out the rotating piece. I used a screwdriver to coax it out. There's probably a better way but I couldn't find it. Remember the orientation of it (or look at this picture!). Apparently it matters.
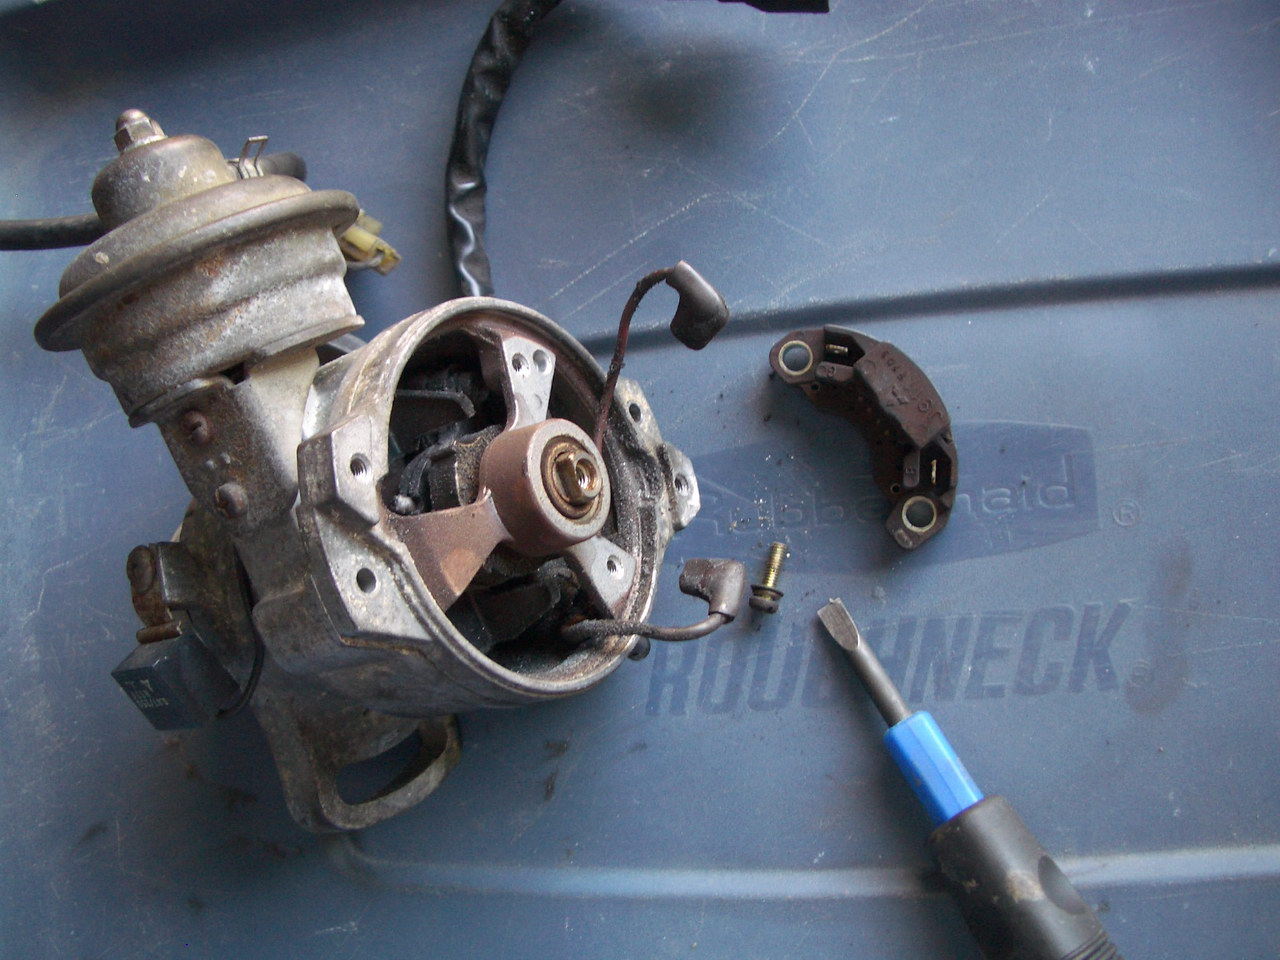
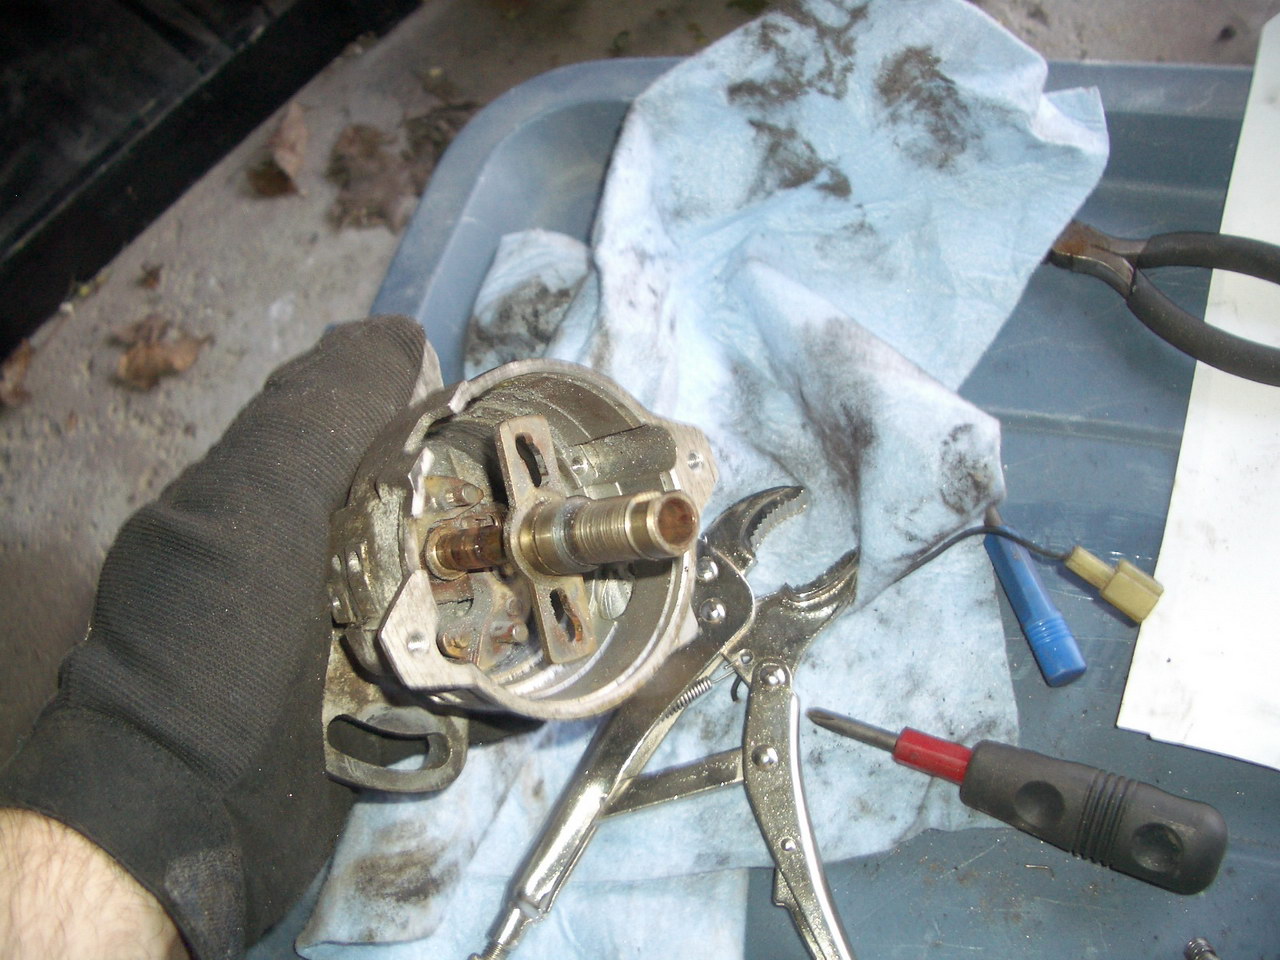
* Unbolt the wire clamp from the outside of the distributor body. Slide the rubber bit out of the side of the distributor body where the wires pass through, and lift off the last of the electrical pieces.
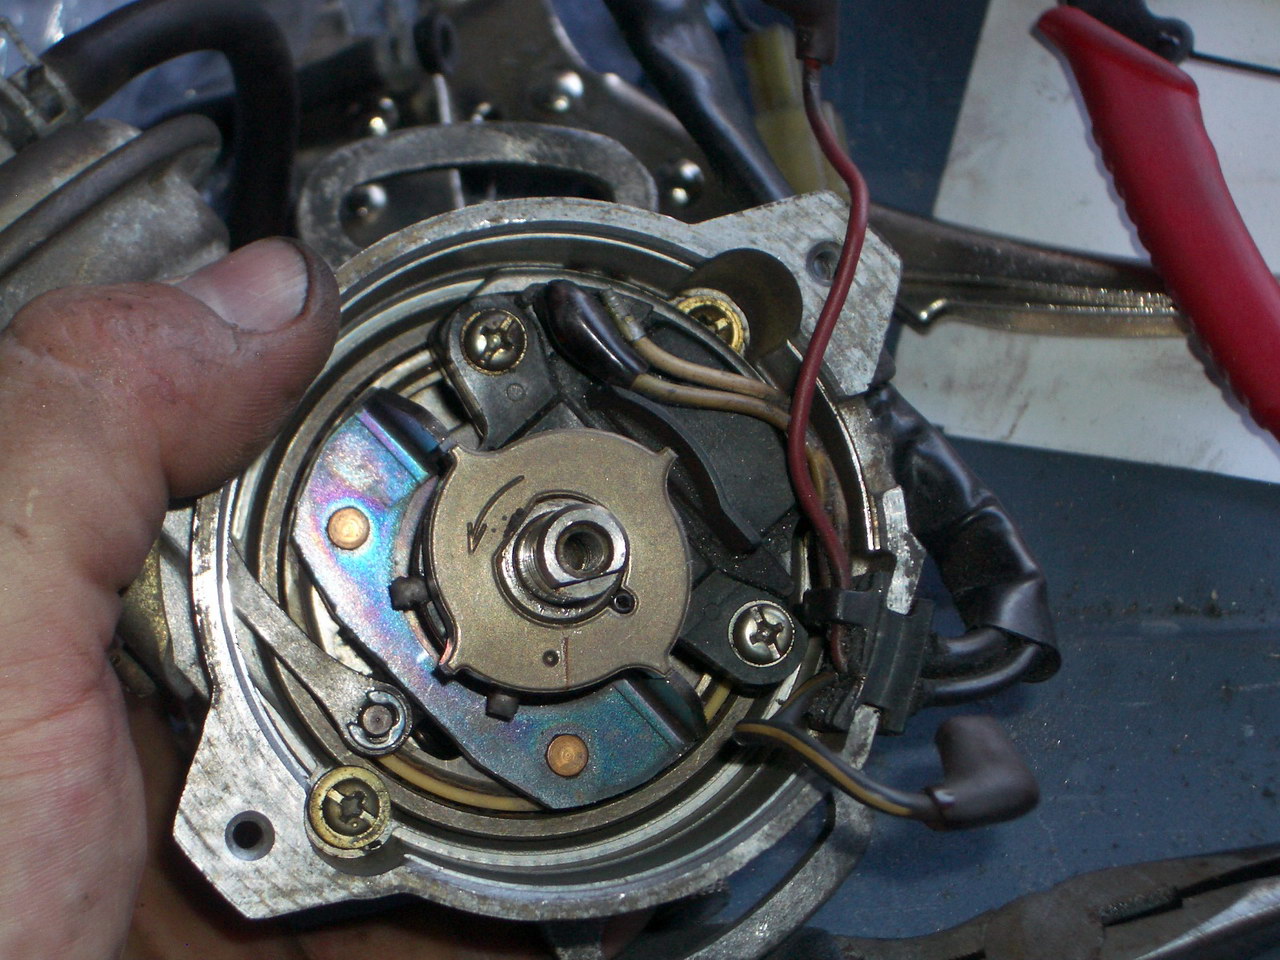
* Take out the two bolts holding in the next piece - the bolts are accessable on the outside of the distributor body. You can see the first bolt here, the other one is around to the right. After that part is out, remove the two bolts inside the distributor body holding in the next piece.
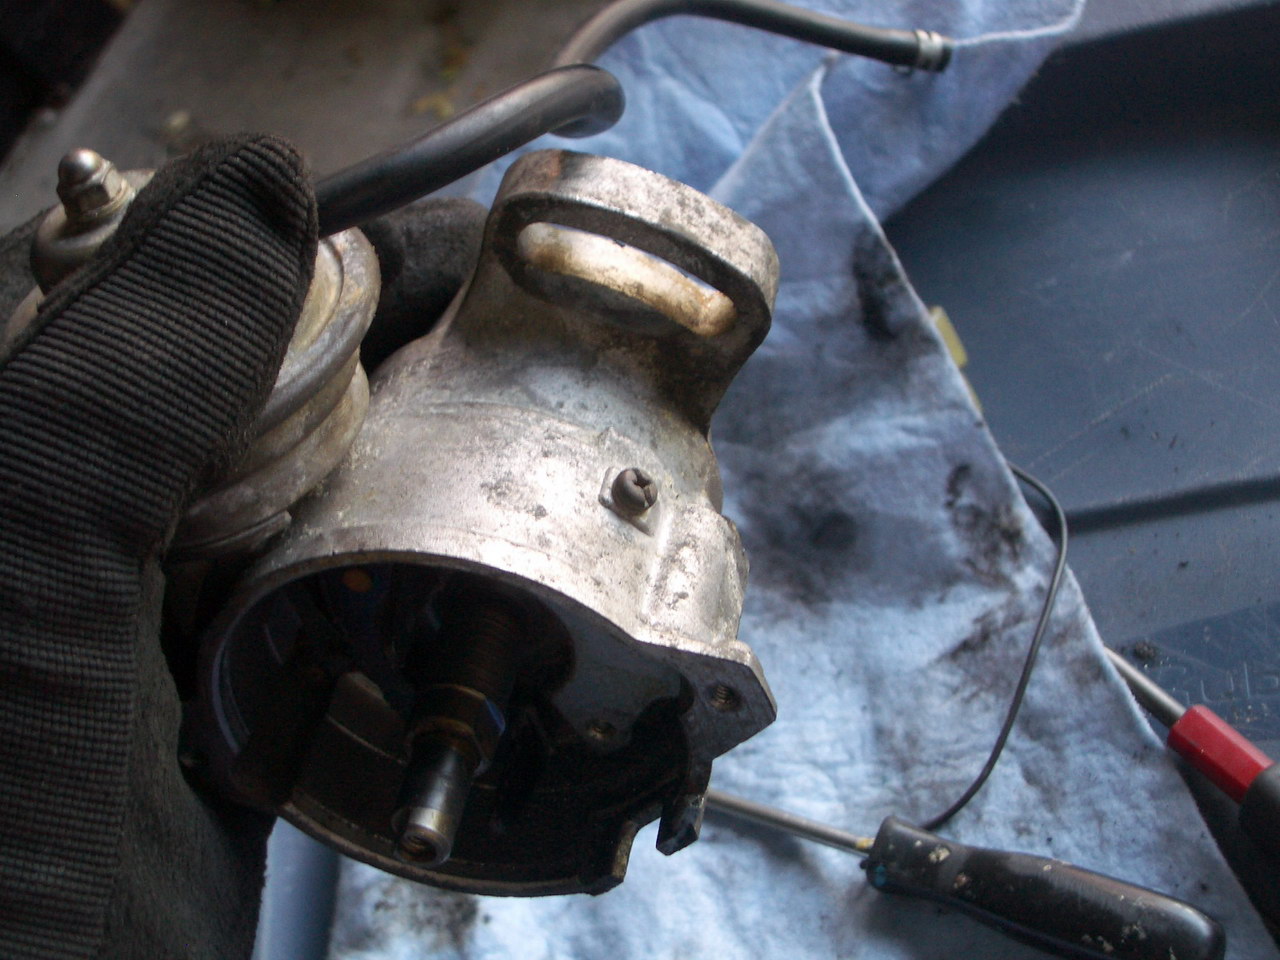
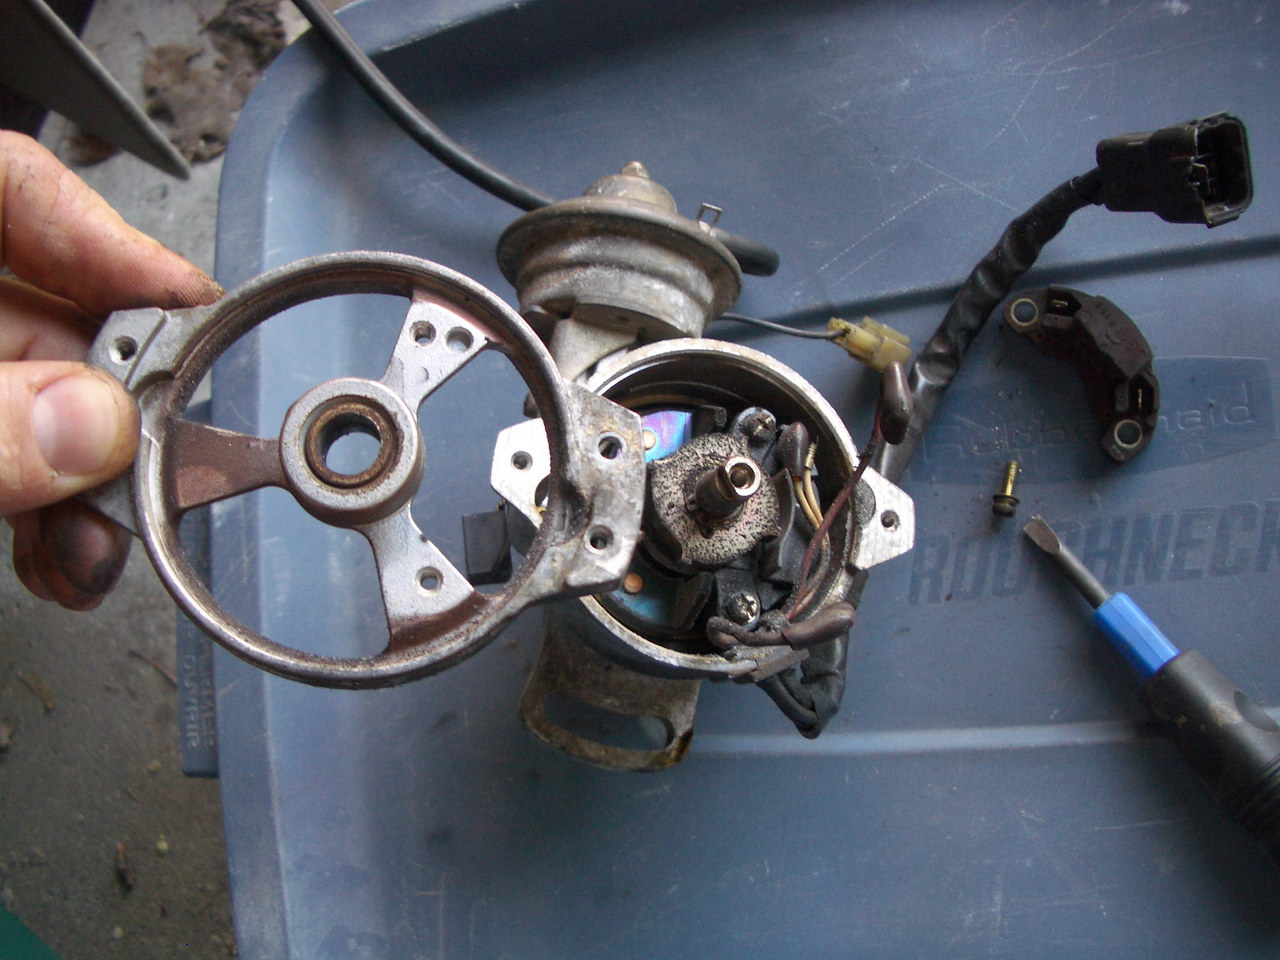
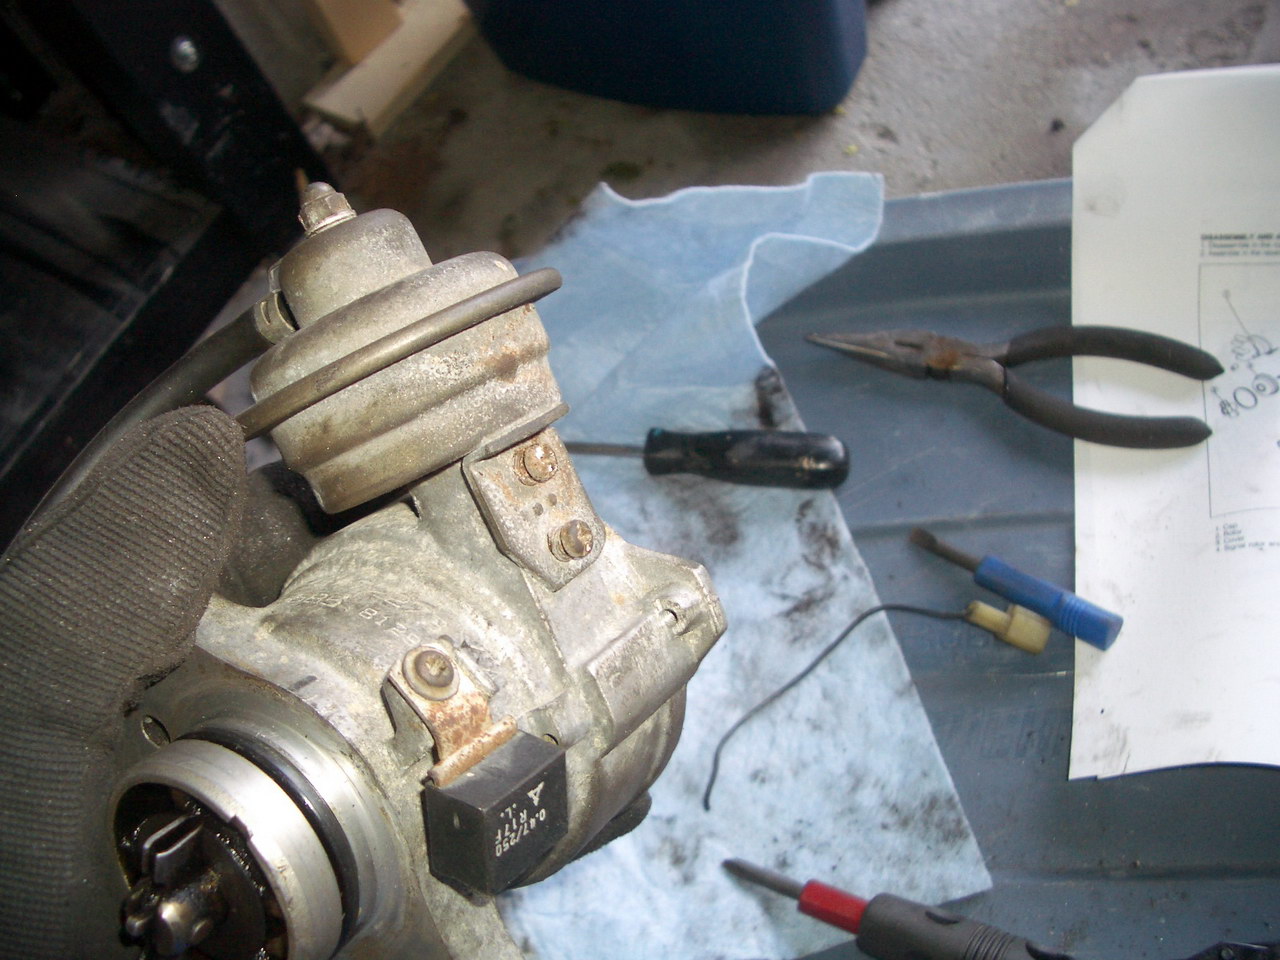
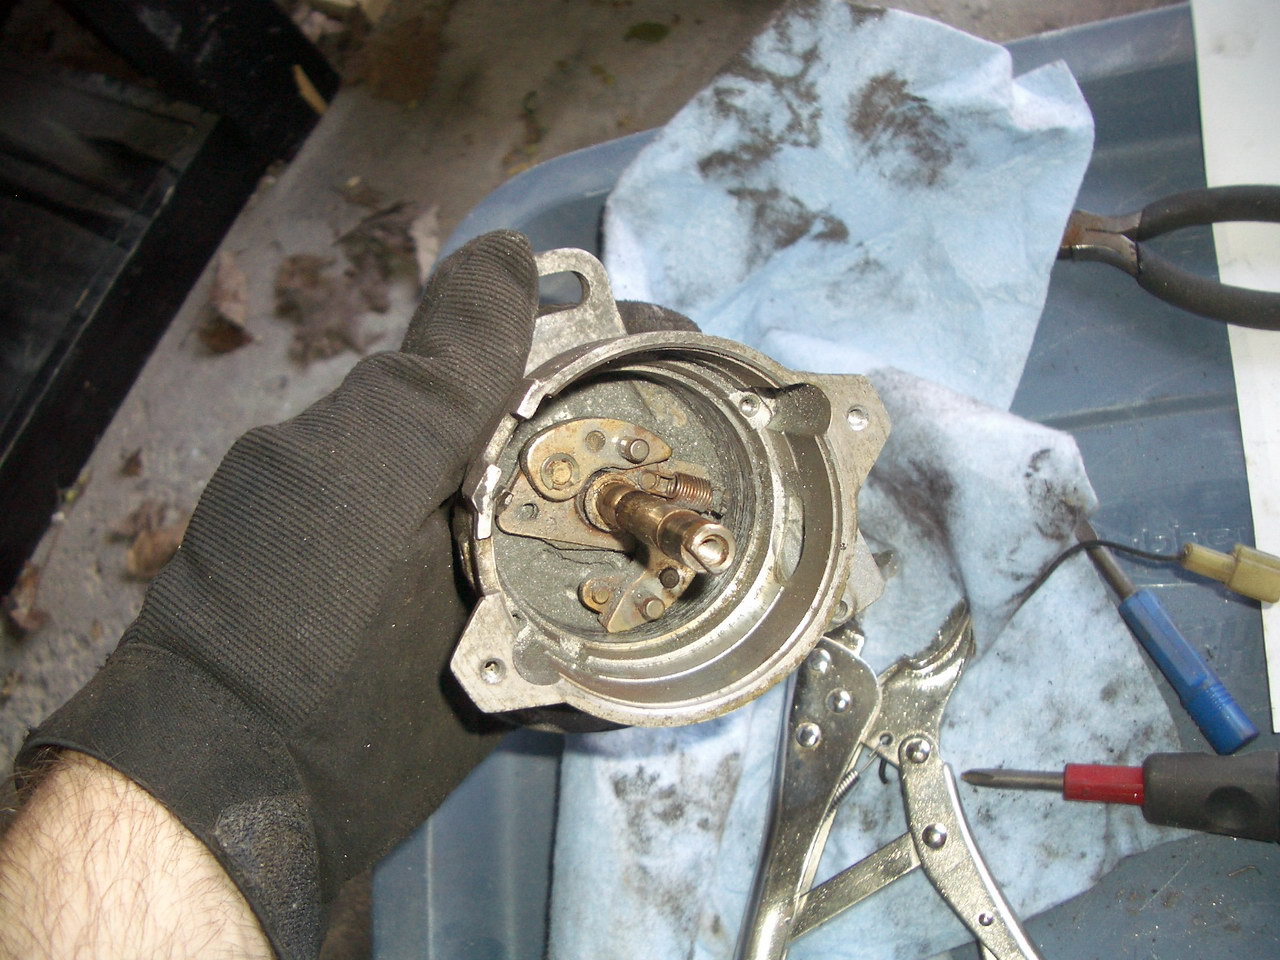
* Remove the vacuum advance. There are two bolts holding on the vacuum advance. I had to use vice grips because I stripped the phillips screw head. There's also a C-clamp that must be removed on the inside. The arm then lifts off and the whole unit slides out.
* Lift out the next piece. If you hadn't already take out the bolts holding it in, take them out first!
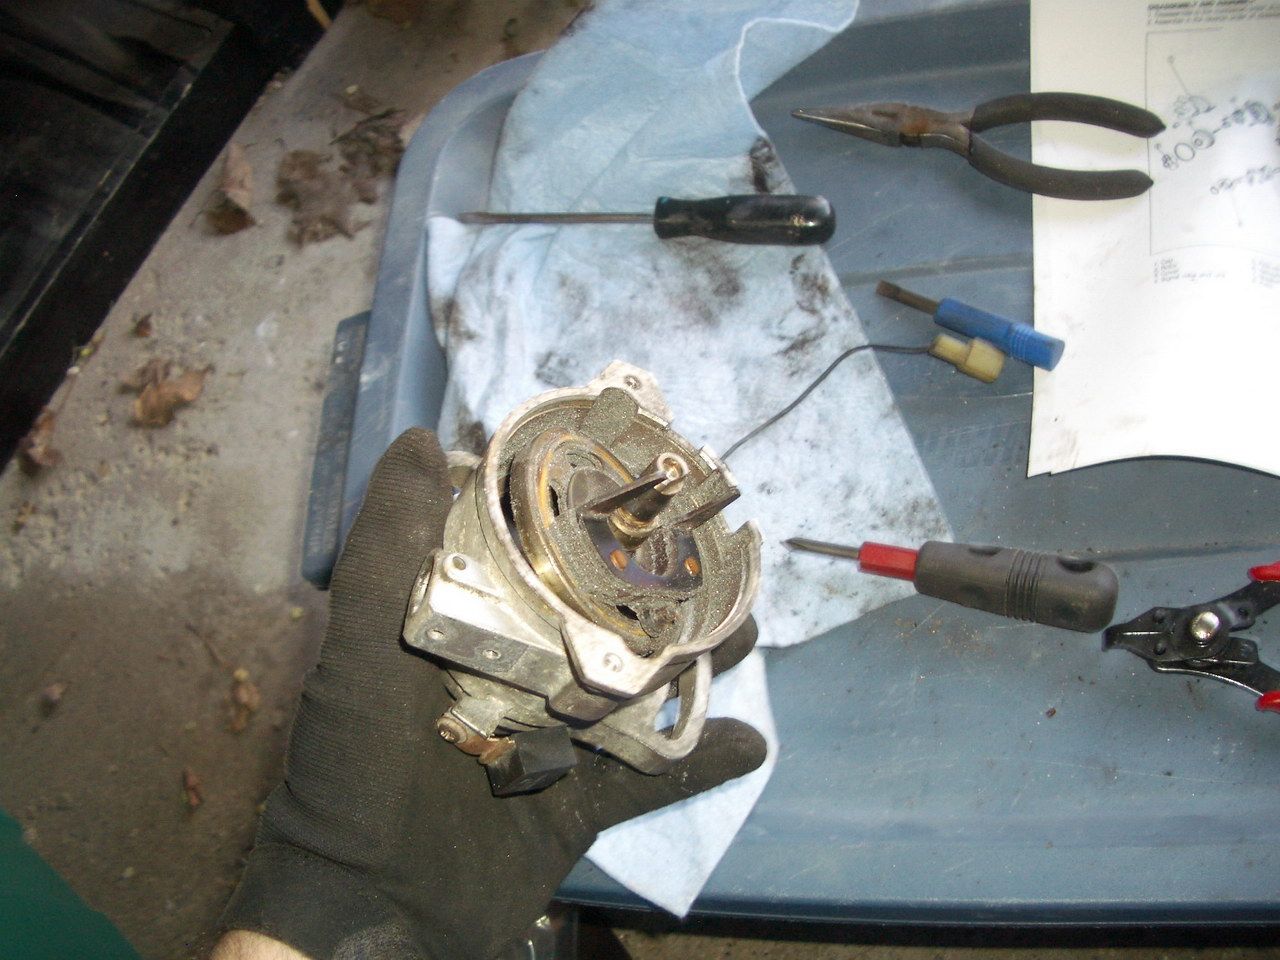
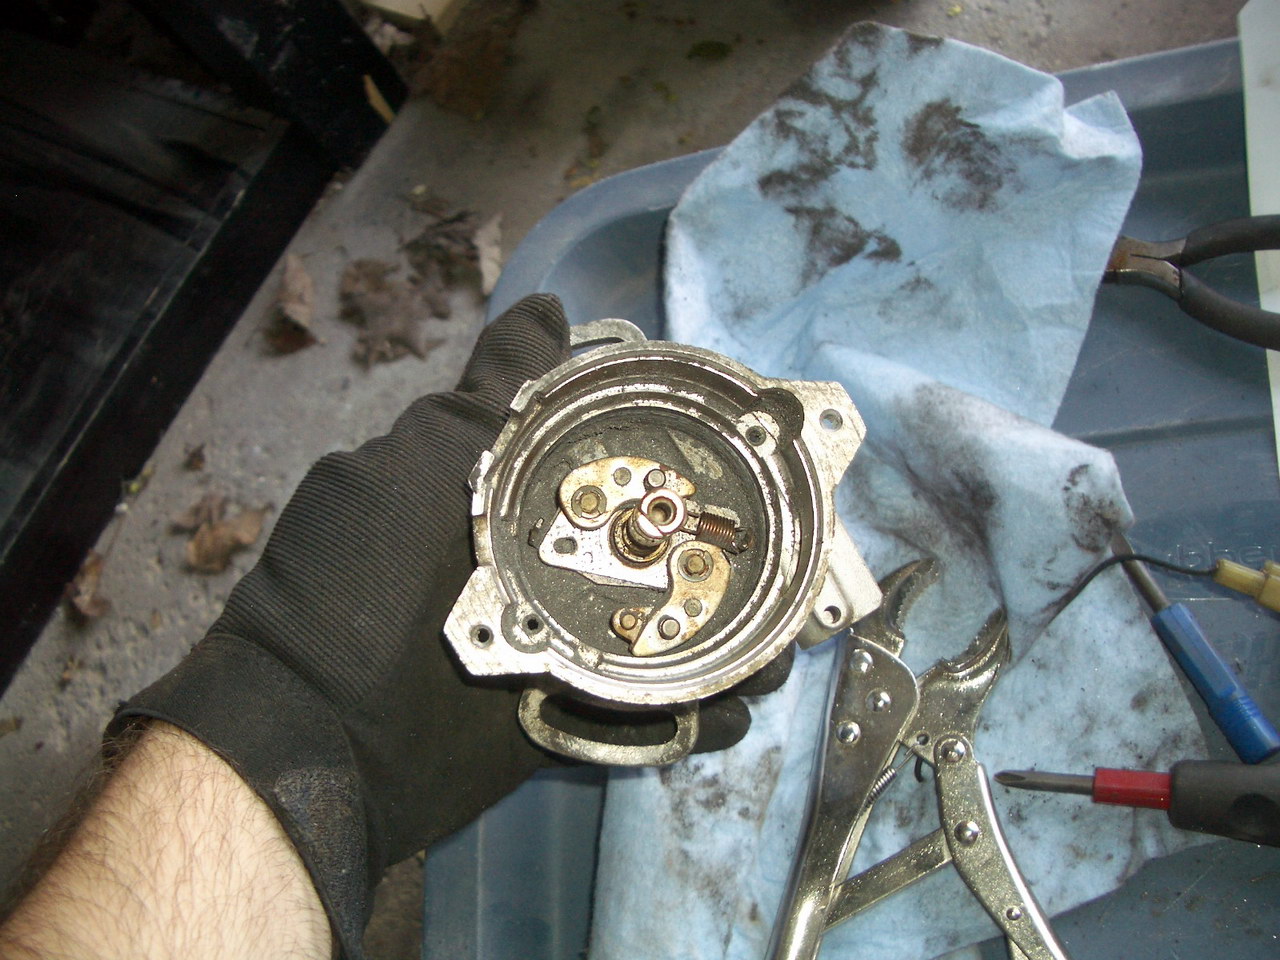
* Remove the next snap ring. Pull out flat piece, then the spindle.
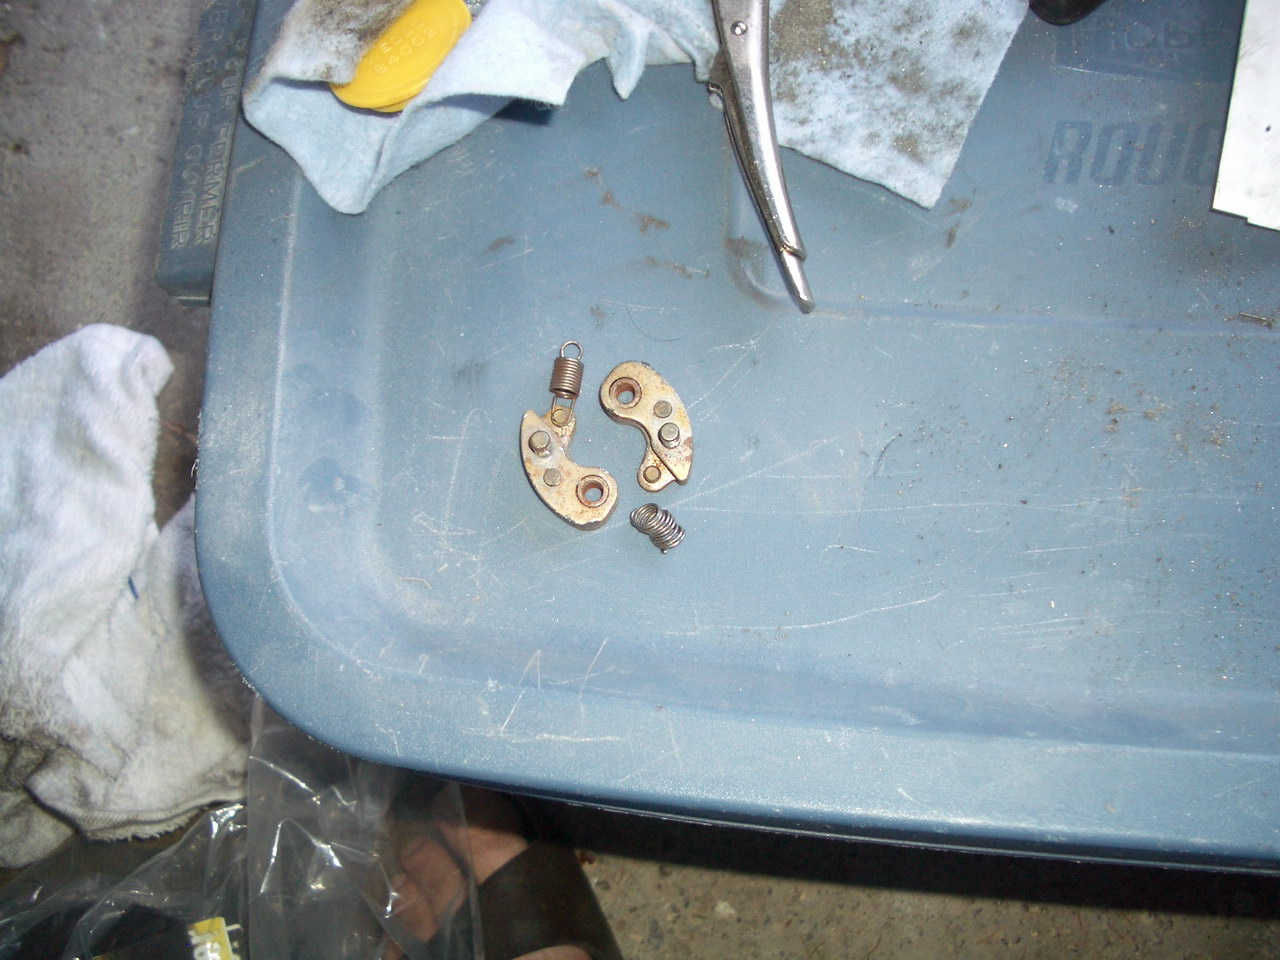
* Remove both the c-clamps on the distributor springs, and pull the springs off their spindles. I used needle nose plyers.
* Put the new springs in. I found it easiest to hook one side of the spring underneath the attachment point, then push the other end into place with a screwdriver. Then put the body onto it's proper spindle.

* Now, put it all back together. I have a few pics of the reassembly, but my camera died part way through. Here is what I have.
* Once it's all back together, reset the timing and idle according to factory specs (12degree, 850rpm +/- 50rpm)
Good luck! Take your time, and be careful with the bolts. Hopefully everything will go well for you.
A few pictures of the broken spring in mine, and the scoring on the inside of the distributor body. I couldn't believe the volume of alumunimum shavings that had built up. In order to clean it out all properly, I used gas to clean all the parts
(except the electrical parts!!!).

THE END